Still holding a buck tag? Use this five-step scouting strategy to find a buzzer-beating bruiser
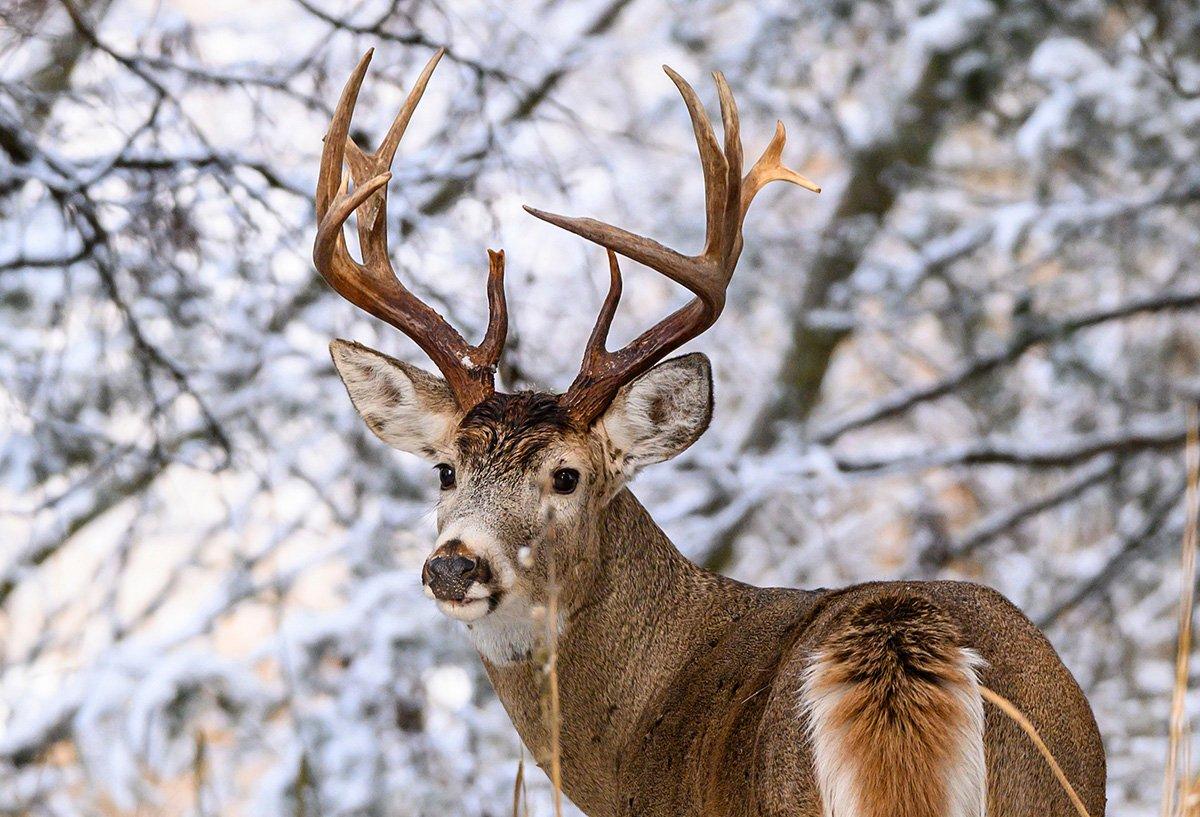
First, I offer my condolences. Building anxiety, a feeling of hopelessness and months of big-buck scrolling led you to this point. A buck tag remains unfilled in your pocket, and desperation is setting in. It won't get the best of you, though. While many hunters are consumed with thoughts of tom turkeys, mallard ducks and snarling 'yotes, you — the late-season deer hunter — are still contemplating all legal means of finding and killing a post-rut buck.
I'm with you. I love the late season, and wherever I'm hunting it, I rely heavily on my trail cameras to locate last-minute bucks. I'm hoping the tactics I share here will help you tag a buzzer beater buck in the coming weeks, just as it recently did for me. You can watch how that story recently unfolded on Realtree 365.
The Four Pillars of Late-Season Success
Quality wintertime deer hunting depends on four key things:
Living Resident Bucks: This might seem obvious, but you can't kill a deer that isn't there. Unfortunately, during the late season, many properties are void of mature-buck daylight movement because they all got shot, or they relocated to other areas in search of the remaining three factors. Trail cameras tell you whether your original target bucks survived the rut, and whether new mature bucks have moved in.
Good Food: Desirable food sources are the epicenter of post-rut success. Crop fields or food plots with brassicas, green cereal grains, corn, milo and standing soybeans are all go-to options. Natural food sources such as remaining mast that hasn't rotted away and green browse can be nearly as good.
Security Bedding: While food is crucial, the right bedding cover is just as important. Bucks were pressured all fall and winter. That, paired with the inevitable onslaught of bitter-cold weather, encourages them to seek out cover that offers certain advantages. Look for bedding areas that provide thermal advantages, such as cedars and low-lying coniferous trees; solar advantages, as found on south-facing slopes, and — as important as anything — cover that has been overlooked by hunters. The best scenario offers everything in one place.
Transition Routes: A good late-season property has favorable transition routes between bedding and food. Deer don't like exposing themselves in daylight. They prefer slipping through and staging up in early successional habitat that offers concealment and browse.
Step 1: Cast a Wide Net
The first step in finding a late-season buck to hunt involves covering as much ground as possible with as many trail cameras as possible. The more cams available, the better. If necessary, ask friends and family members who've tagged out if you can borrow a cam or two.
Then, make sure all cams are in good working order. Replace old batteries. Clean battery contact points. Check camera seals. Format SD cards. And for the love of Pete, make sure camera settings are accurate. Date and time are crucial bits of info.
In states and counties where it's legal, this step is most effective with a pile of ear corn. No need to empty your wallet or feed the entire herd. Just put out enough grub to get a whitetail's attention.
Barring significant habitat changes, they'll likely repeat those patterns again this year. By looking into the past, you're oftentimes looking into the future.
In areas where bait isn't allowed, post cameras on the edges of major food sources. Hit high-odds spots such as major trails, funnels, inside-field-edge corners, etc. No need to dive into cover just yet. You're only taking inventory, not trying to get daylight pics. Where allowed, use your truck or ATV to go from place to place to limit ground scent. On public lands and other areas that prohibit motorized transportation, consider using a bicycle.
Let cams soak for five days. That'll capture almost every deer in the general vicinity.
Advanced Tactics: Set cameras overlooking food sources to time-lapse mode. This will capture most animals that enter the open, not just those within 60 feet of the device. Also, knowing what direction deer travel from in the evening, and where they head back toward of a morning, helps piece together potential bedding area locations.
Step 2: Start the Plan
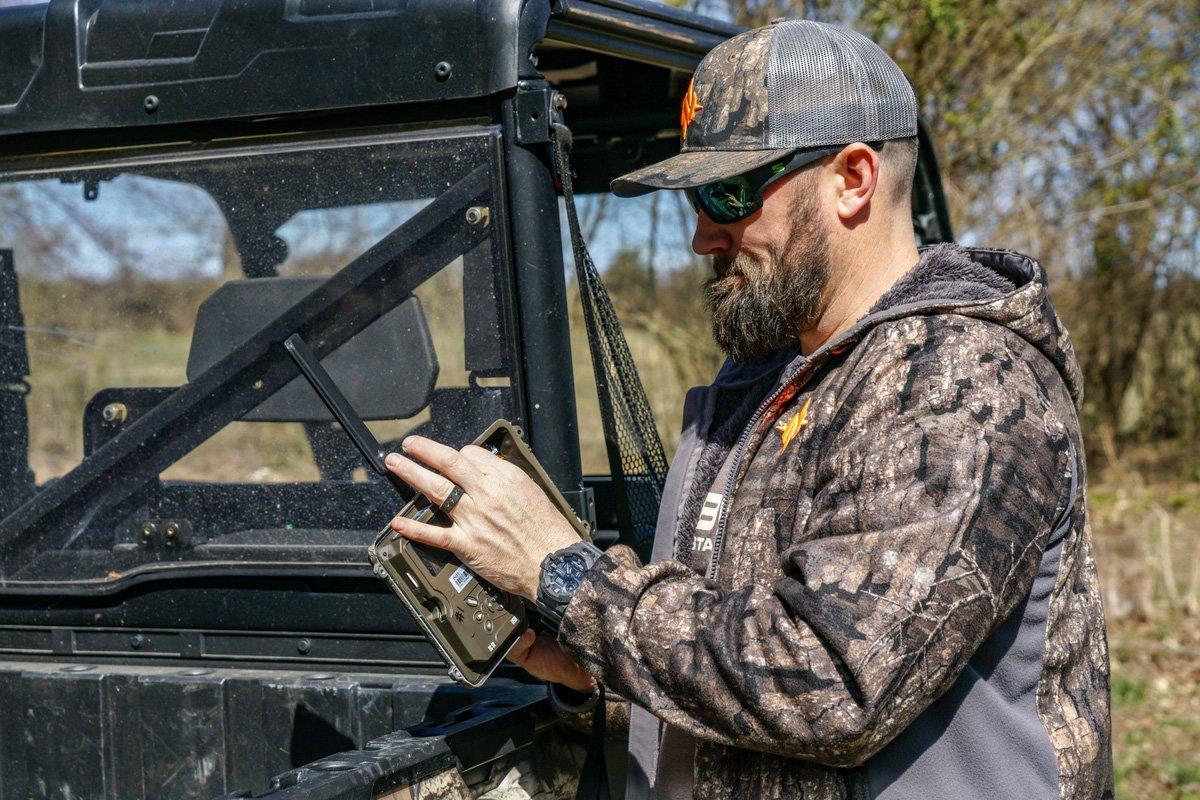
Pull cards, see what fruit they bear, and start refining your plan. Bring a laptop or tablet afield so you can determine which cameras do and don't produce.
Pull cams that do not capture a shooter buck, but be careful not to assume a buck isn't there just because it doesn't show up on a camera. Several times, after moving a camera just 100 to 150 yards, I've immediately captured images of mature deer. The key is understanding how deer use a given property, and learning that takes time.
If you didn't have enough cameras to check all major food sources at once, relocate unproductive ones to new areas. Consider other funnels within food sources such as fence gaps, ditch crossings, tree line gaps, etc. If all primary food sources are covered, hold a few cameras for the next phase.
Advanced Tactics: Create an intel folder for your late-season plans, and draft subfolders for each target buck on the initial card pull. Then create additional sub folders within those for each location you captured photos of the deer. Every trail camera encounter should be placed here. Make notes on the date, time of day and direction of travel, to and from, the camera location in a notebook or on an aerial map.
If you have multiple years of trail camera history for given target bucks, click back through those pics and see what, when and where those bucks appeared in previous late seasons. Barring significant habitat changes, they'll likely repeat those patterns again this year, and other deer will likely follow long-established patterns by their ancestors. By looking into the past, you're often looking into the future.
Phase 3: Tighten the Noose
Hopefully you now have an inventory of bucks to chase, and hopefully some of the cameras produced a daylight picture of a buck at a food source. But that's rarely the reality. This time of year, bucks often hit the food at night, and you can't kill them in a location they don't frequent in daylight.
So now, think of your scouting in layers. Food sources are the first layer. They're the safest places to hunt without pressuring deer. Transition, or staging, areas are the next layer. These are riskier to hunt than food sources, but in staging areas, it's usually easier to get within bow range of a buck while the sun is still out.
Sometimes bucks refuse to venture far from their beds during daylight hours, forcing us to be bolder than we like.
Post unproductive cameras in these areas, between suspected bedding cover and known food sources that produce mature buck photos. Staging areas that offer both cover and a minor food source, such as acorns, honey locusts, or hedge apples, are prime for capturing a mature buck on its feet during legal shooting hours. And don't forget water sources, too.
Now, cams are set up on both productive food sources and travel routes. Let them soak again for another four to five days.
Advanced Tactics: Put your transition zone cameras on video mode to garner maximum intel from each buck you capture. This even provides insights on specific buck behaviors and personality traits.
Speaking of, many bucks aren't fond of trail cams. Keep deer off your radar by hanging cameras a little higher than normal. About 4 to 5 feet should get them out of a whitetail's line of sight, but angle the cameras so that the lenses are looking down at the trail, not perpendicular to it.
Phase 4: Obtain Target Lock
You've found a buck and have cameras waiting for him at both his favorite food sources and in his likely bed-to-feed travel routes. Now it's time to pull cards again. Daylight photos mean the scouting is over, and it's time to hunt. But if the transition zone cameras yielded no daylight action, it's time to get aggressive.
Sometimes bucks refuse to venture far from their beds during daylight hours, forcing us to be bolder than we like. In this case, it's best to push in another layer deeper — the bedding area, but don't enter it or approach it during daylight. Instead, wait until late at night, when deer are likely out feeding. Then, ease in and set up cameras — along the outer fringes of the bedroom — on trails between it and staging areas. Make sure your scent doesn't blow into the bedding sanctuary, though, and never set foot inside it. Again, riding a four-wheeler or bicycle will reduce ground scent.
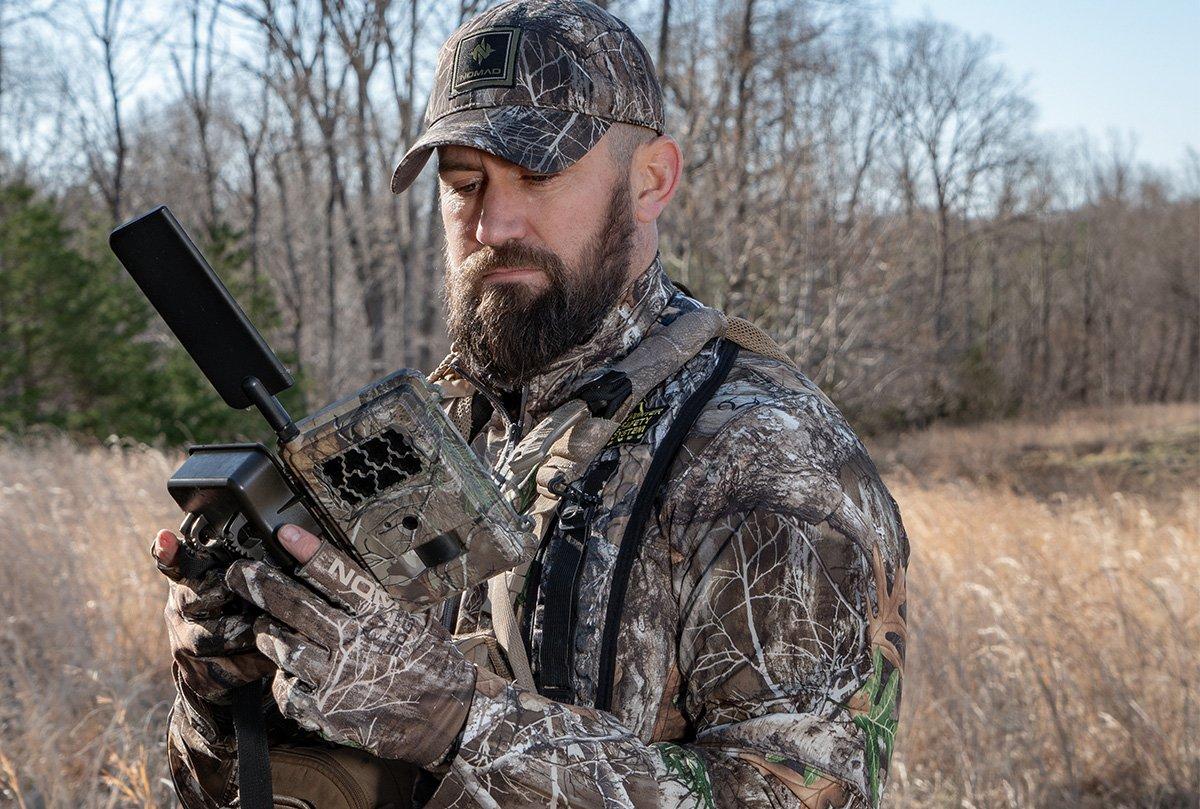
Advanced Tactics: Spartan cell cams were made for these moments. They send real-time data that allows you to react immediately. Leave cams here until a target deer moves during the daylight. Once it does, move on to the final phase.
Phase 5: Clinch the Deal
By this point, you've checked several boxes:
A) Taken a post-rut herd inventory
B) Located at least one target buck
C) Received daylight photos of target buck(s) in one or more of the three scouting layers (major food sources, staging areas or bedding area fringes)
Now it's time to choose stand locations. Study aerial and topo maps, and think about them in conjunction with trail camera data to determine the best sites to get a crack at that buck. Contemplate optimal wind directions, as well as the best entry and exit routes leading to and from the stand. Once those decisions are made, it's merely a waiting game. Unless daylight sightings are already consistent, hold until a rain event, cold front, or rising pressure encourage deer movement.
When the Plan Works
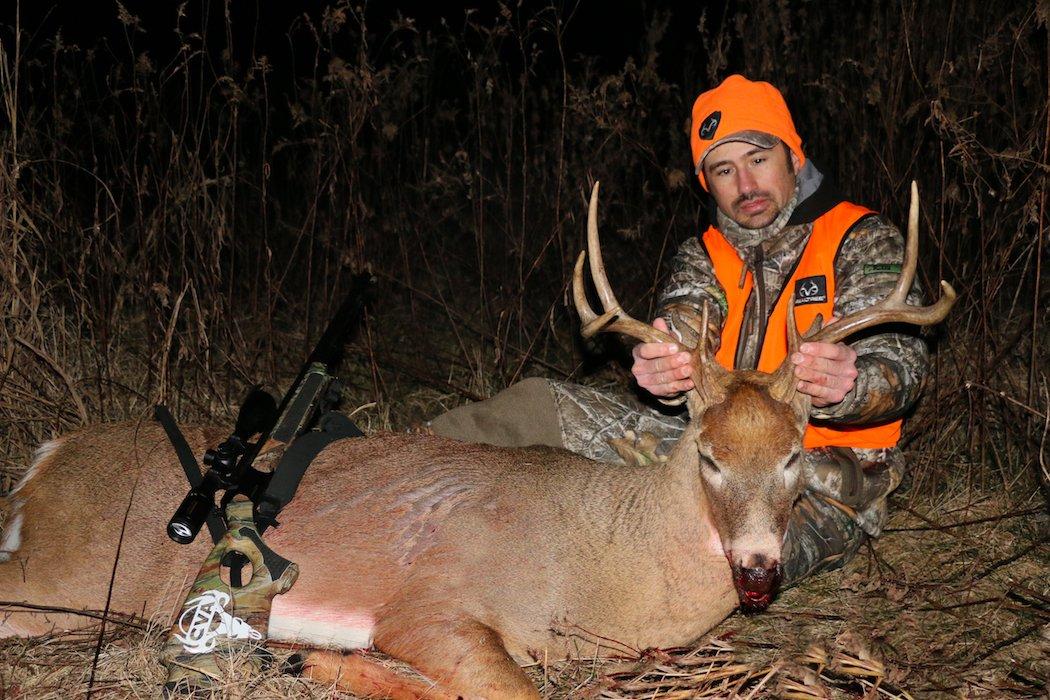
I generally spend the late season hunting somewhere besides my home state of Kentucky because by now, I've generally filled my one Bluegrass buck tag. But due to a long season full of mishaps and missteps, I didn't kill my Kentucky buck until December 18.
In fact, I was in the process of crafting this article when I finally killed a buck called The Wide 7. He showed up on multiple cameras within a short period, and then repeated the pattern. That sealed his fate. I was able to string together a pattern and establish his general direction of travel. From there, I figured out almost exactly where he was bedding, feeding and his preferred transition routes between the two.
Having a Spartan camera send real-time photos didn't hurt a thing, either. I posted it up in a cedar tree — to conceal it and the big battery box — in the vicinity where I thought the buck was most killable. Several days of daylight proof put the final puzzle piece in place without me having to go afield, pull SD cards and stink up the place with scent.
And now I have another buck on the wall and deer steaks in the freezer to show for it. I hope you soon do, too.
Go get that late-season venison.
Don't Miss: How to Deer Hunt Each Week of the Deer Season
Check out more stories, videos and educational how-to's on deer hunting.


