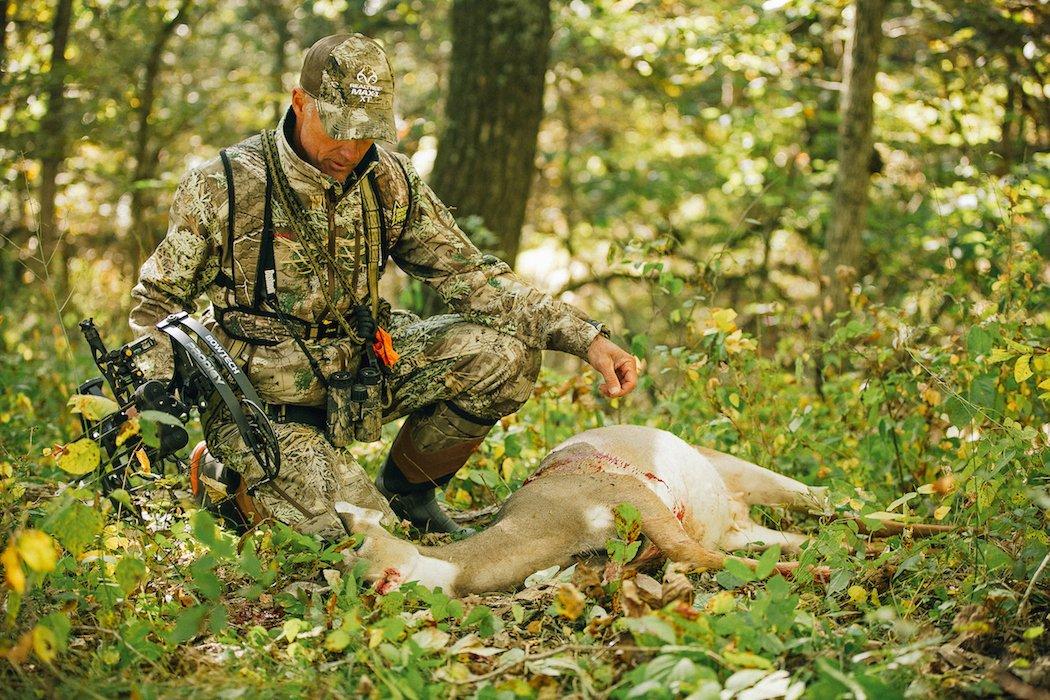
Here's How to Maximize Your Doe Hunting Efforts
Establishing the correct antlerless harvest goal for your property depends on many factors and can even change from year to year on the same property. Some places need aggressive doe harvest. Others need very little if any. As such, I strongly recommend involving a qualified wildlife biologist in this important decision.
The purpose of this article is to highlight techniques to improve your antlerless harvest efficiency whether hunting with bow or gun. Like many hunters, I would rather process several antlerless deer at one time than just one. Harvesting multiple antlerless deer during a single hunt (where legal) greatly increases processing efficiency while also increasing the chances that the harvest goal for the property will be achieved.
Before outlining specific harvest techniques, it is worth discussing which does should be harvested. Most whitetail experts say the best doe to harvest is the first one that stands still long enough to provide a clear shot. I generally agree, though it can depend on the situation. In most cases I recommend harvesting adult does because they are the most reproductive part of the herd, generally producing twin fawns annually. In areas of high deer density, they provide the most bang for the buck with regard to lowering density. In areas with low to moderate deer densities, a balanced harvest of all age classes, focused primarily on yearling and fawn does, is generally more appropriate.
The following antlerless harvest strategies are based on my experiences and those of many other hunters. Using these techniques, I have harvested numerous multiples over the past decade.
1. Identify the Dominant Doe
Perhaps the most important factor in harvesting multiple antlerless deer is identifying the dominant doe in a group of antlerless deer. The dominant doe, generally also the oldest, is the leader and responsible for making key decisions, such as when and where to run after encountering danger. Several tips can make identification of this doe easier. First, the dominant doe will almost always be mature. This can be confirmed by a large, rectangular-shaped body and a long, Coca-Cola bottle shaped head. In contrast, fawns have square bodies with short heads and faces. The dominant doe will almost always be the lead doe when a group of antlerless deer is traveling undisturbed between bedding and feeding areas
Another useful clue is aggression, especially at feeding locations. If, when watching a group of antlerless deer, one becomes highly aggressive toward another, it's usually a safe bet that the one initiating the aggression is mature and often the dominant doe in the group. Common aggressive behaviors include lowering ears, striking with a front foot, or standing vertically and flailing with both front legs.
2. Look for Off-limit Group Members
Once the dominant doe in the group is identified, quickly scan other group members to see if any are off limits, like yearling bucks or button bucks. Pay close attention to any button bucks, because they can be difficult to keep separate from others that are fair game once the action begins. This is where a good pair of binoculars is essential. In most cases, you just can't see the fine detail as well with a scope as you can with a good pair of binoculars. I generally recommend that hunters determine their maximum budget for a pair of binoculars and then double it. You will never regret it.
If you identify any that are off limits, watch them closely, especially as the time to fire the first shot nears. If all other group members are takers, the off-limits animal becomes the most important at this point.
3. Select the Second Doe
Once you have identified the first (dominant) doe to harvest and any others that are off limits, the next step is to select a preferred second deer to harvest. This is not unlike the game of chess, where you not only focus on the move at hand, but one or two moves ahead as well. Of course, once the first shot is fired, there are no guarantees you will get a shot at the preferred No. 2, but it has occurred often enough to become part of my routine. If the group is relatively small — three or four animals — I generally select the doe that appears to be second in command to the dominant doe.
4. Wait for the Optimum Shot Opportunity
Often, the difference in taking one doe out of a group versus several is waiting for the optimum time to fire the first shot. While it may be easy to harvest one doe 100 yards away through the woods, the odds of harvesting a second deer are generally slim. However, if the group is close when the first shot is fired, the chances you will get a second shot are much improved. Also, as the group gets closer, you can reduce the magnification of your scope (assuming it has variable magnification), which increases your field of view and makes it easier to pick up a second or third shot opportunity. As long as the antlerless group is moving in your direction, be patient and continue checking all group members. Also, take the time to carefully scan your surroundings to look for possible shot windows for the first as well as subsequent shots.
5. Drop the Dominant Doe
This is where the action begins. Once you have identified the preferred first and second deer to harvest and allowed them to get as close as possible, the next step is to drop the dominant doe in her tracks. I prefer a high shoulder shot, though a neck shot will do. However, the neck is a small target and fairly tough to hit consistently under normal hunting conditions. Remember, this is not about proving you are an expert marksman, it's about ethically maximizing antlerless harvest opportunities. Even if you make a lethal shot, such as a heart or lung shot, but don't drop the dominant doe in her tracks, she will run and take the other group members with her, greatly reducing second-shot opportunities.
6. Take the Second Doe
Once you drop the dominant doe, there is generally a period of five to 10 seconds when other group members freeze, or run only a short distance. This is because lower-ranking group members seldom, if ever, have to make key decisions. This moment of hesitation is generally long enough to locate and lock on to the second in command. While it helps to drop this doe on the spot also, it is not nearly as important as with the first. Once a good shot has been made on the second deer, it's time to scan for any other potential takers. This is the time when mistakes commonly occur. After two shots are fired and remaining group members scatter, be careful not to get so engrossed with taking another deer that you forget about any that are off limits.
7. Stay Put
I can't recall how many times I have taken a doe early in a hunt and, simply by staying put, was rewarded with another shot a short time later. Many hunters mistakenly believe that once they fire a shot, all deer in the county know exactly where they are and will avoid the area for many hours. On the contrary, it often seems that a dead deer on the ground actually attracts other deer. This is especially true during the rut.
Numerous hunters have witnessed a buck trying to harass or even mount a doe they had harvested a short time before. Being patient is especially important in situations where you have harvested the dominant doe but were unable to harvest other group members. More often than not, subordinate group members will circle back to see what happened to their leader. As such, I sit tight and, often within an hour, I am rewarded with another shot.
By following these proven techniques, you can greatly increase your chances of harvesting multiple antlerless deer during a single hunt. By doing so, you not only increase your chances of meeting the antlerless harvest goal for your property but also save considerable time and effort at the skinning shed.
Click here for more deer hunting articles and videos.
Check us out on Facebook.


