Do more cooking and less scrubbing with these handy tips
I've been cooking in Dutch ovens for more than 30 years now, and have used them for everything from breakfast to dessert, and in fancy kitchens and remote mountain deer camps. But I've never been a huge fan of scrubbing pots, especially late in the evening with a pre-dawn wakeup a few short hours away.
What if I told you that you could cook multiple meals in a Dutch oven without having to clean it between each round? For starters, I need to give credit where it's due. I've been a lifelong fan of the writings of J. Wayne Fears. If you ever get a chance to sit in on one of his cooking demonstrations, do it, because you'll learn more in an hour than you can in years of trial and error, experimenting on your own.
Fears is legend when it comes to Dutch oven cooking. A gifted outdoor writer, hunter and outfitter, he has cooked in and written about Dutch ovens probably as much as any other person in this country. This cooking method is one of his favorites.
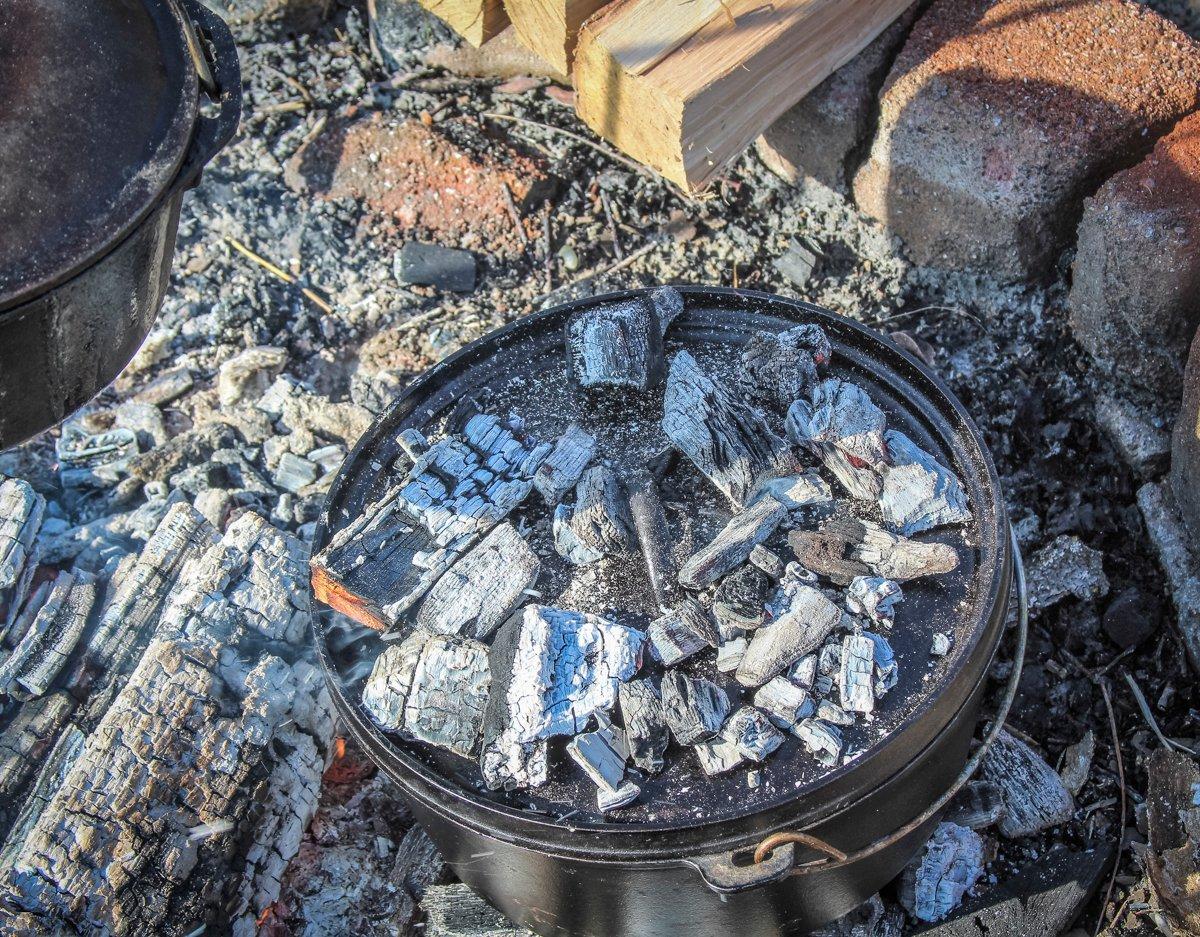
The beauty of a Dutch oven is that you can provide even heat from both below and above the food contained inside by either adding or taking away coals. The air inside the oven heats up just like the air inside your conventional oven at home.
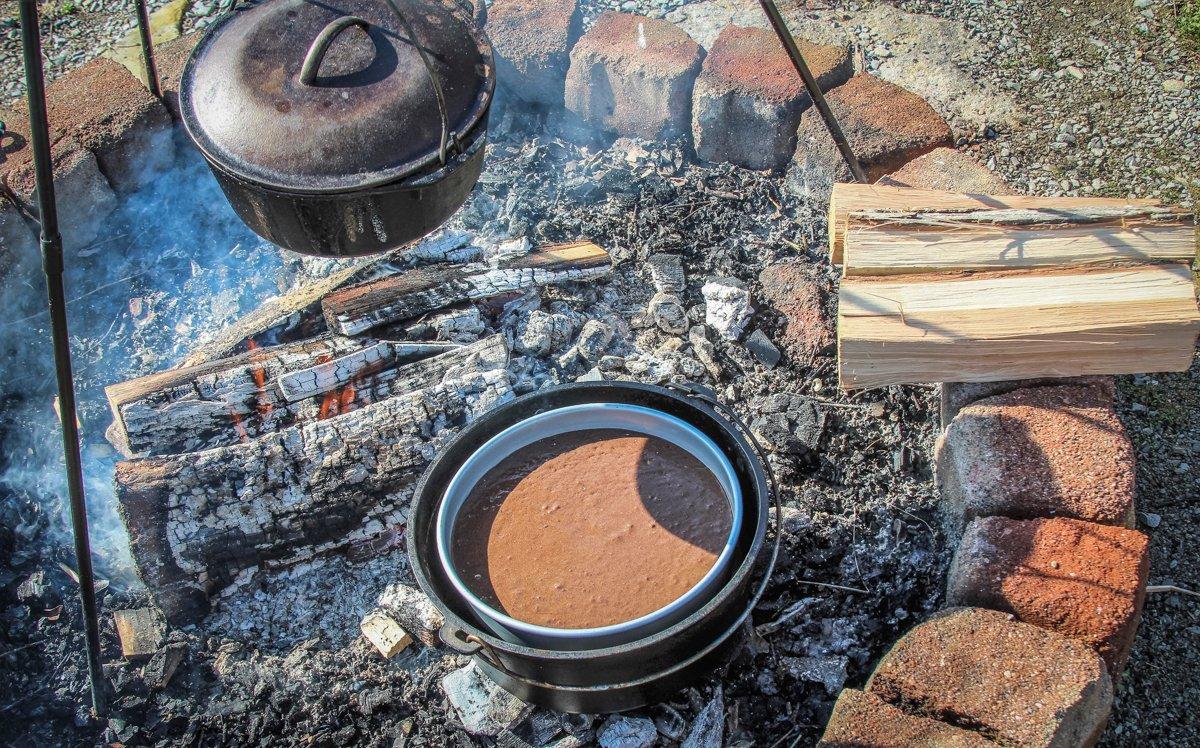
Just like you do with your oven at home, you can place a smaller pan inside the Dutch oven and cook your food in it. The beauty of the system is that you only need to clean the smaller, easier-to-wash pan when you are finished. Need to feed a large crew and only have the space for one Dutch oven? Simply carry several of the smaller pans along and cook your meals in them. You can do an appetizer, the main meal, and dessert without ever cooling off your oven. Or you can cook several rounds of the same dish to feed a crowd. Once you are finished, wipe out the smaller pans and you're done.
What kind of pan works best? I like non-stick aluminum rounds designed for baking cakes. They are lightweight, quick to clean, and come in multiple sizes so that you can find the perfect fit for your Dutch oven. Look for a pan that fits in your Dutch oven with an inch or so to spare all the way around so that heat can circulate.
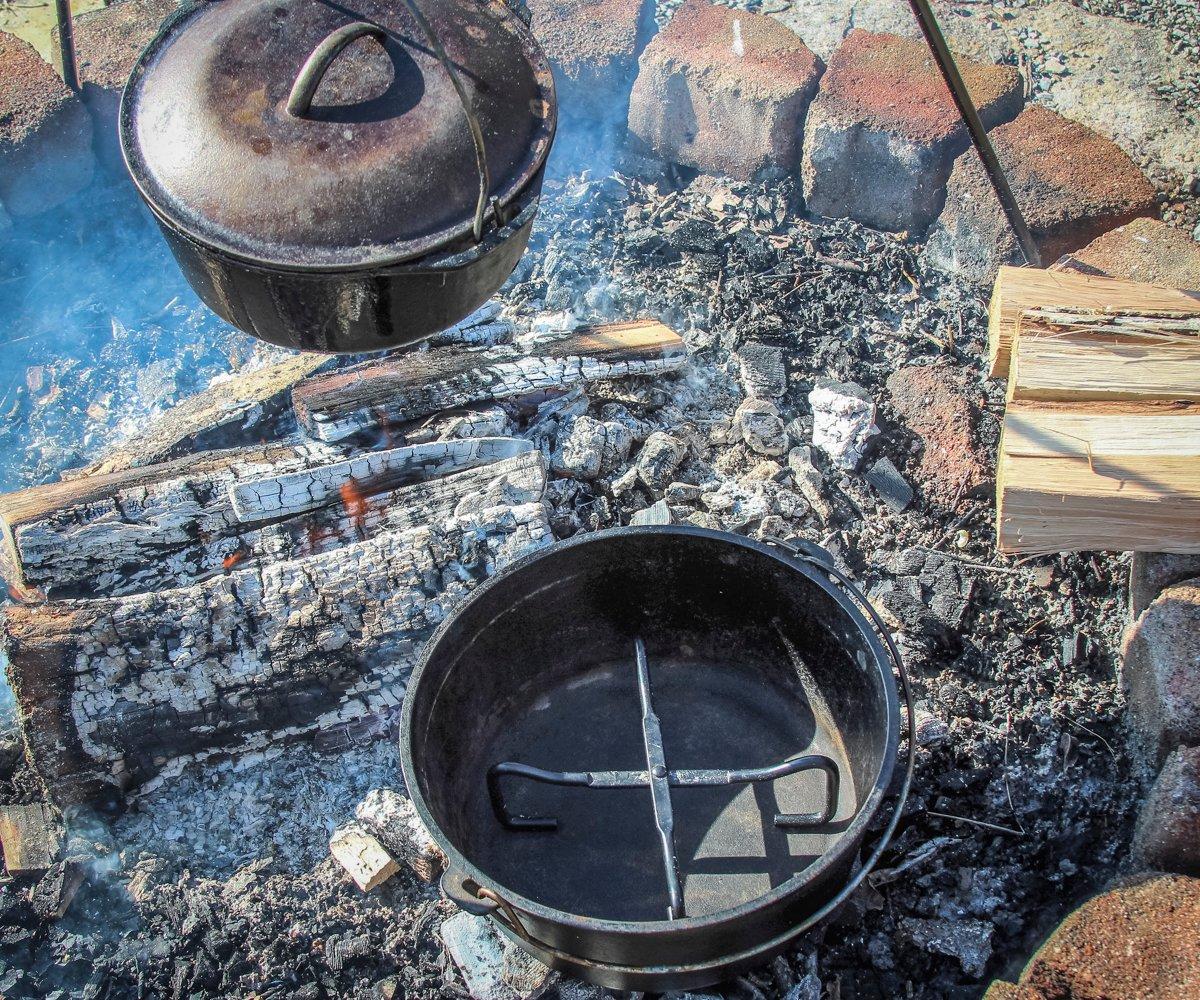
You will need to hold the pan up off the bottom of the Dutch oven, but that's easy to do with a metal trivet. You can use the folding trivets designed as a rest for the Dutch oven lid, or a flat, non-folding version. Whichever you choose needs to hold the baking pan up at least 1/2 inch off the bottom of the Dutch oven to allow for good airflow and prevent the food in the inner pan from burning on the hot bottom of the oven. Make sure there is at least an inch of space above your cooking pan and the top of the Dutch oven for the same reasons.
Dutch ovens get hot. Adding a pan or taking out the cooked food can be an issue. My favorite method for moving the pans is to use a couple pairs of slip-joint pliers. Simply grasp the pan's rim on either side and lower or raise it into or out of the Dutch oven.
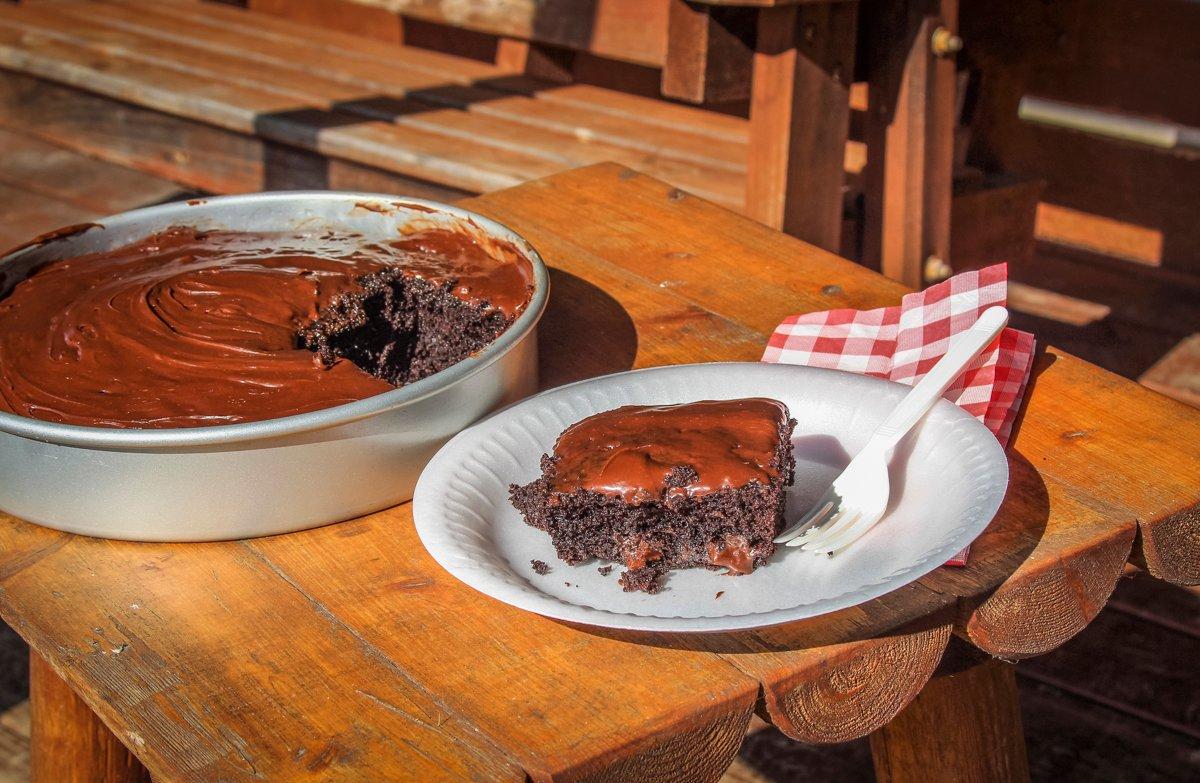
Once you are finished cooking for the night, simply set the Dutch oven off the fire and let it cool until you need it for the next meal. It sure beats cooling, scrubbing and drying the entire Dutch oven. This method works particularly well for baking desserts like cakes, pies and brownies, which are always a hit at hunting camp.


