How to Build a Tabletop Turkey Fan Display
Posted 2019-06-18T05:29:00Z by
This DIY taxidermy project will let you show off your wild turkey fan just about anywhere
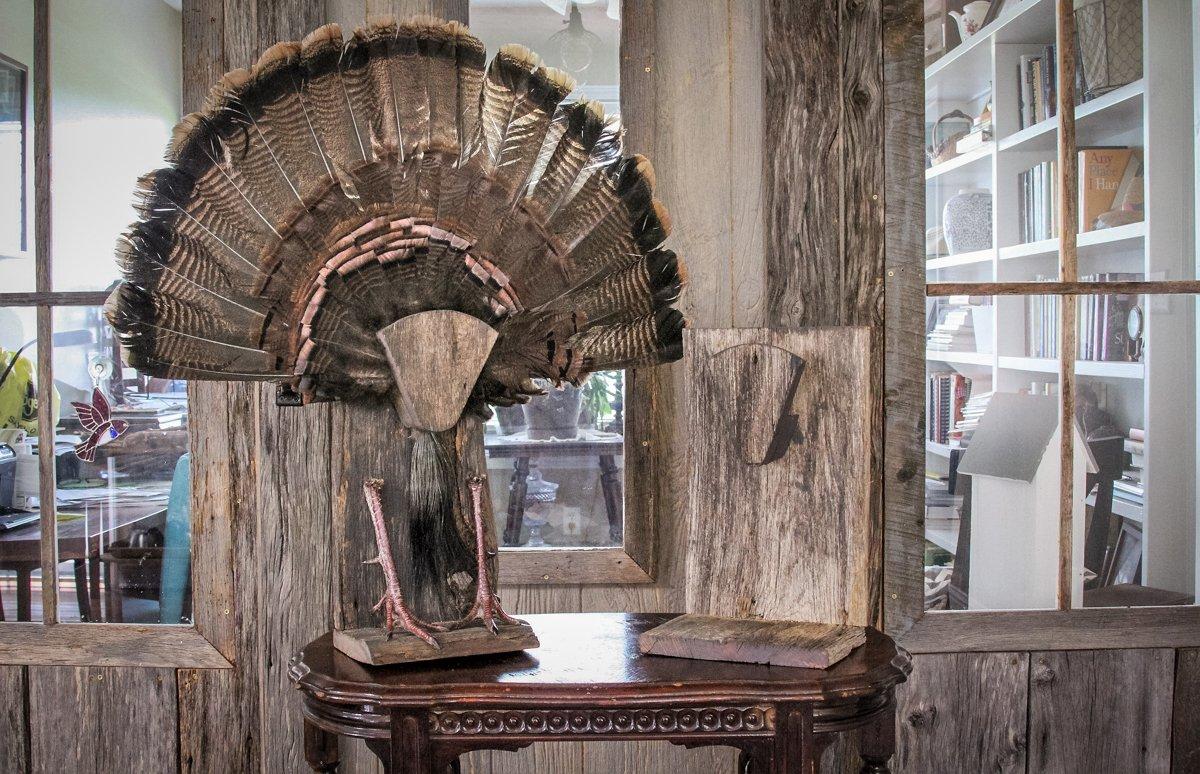
From simply pinning the fan to the wall of your hunting camp to elaborate plaques designed to show off the fan in all its glory, there are countless ways to hang a turkey fan. But what if you want to display your fan on your desk, or on a table next to your favorite reading chair? This freestanding barnwood display will let you proudly show off your trophy on any flat surface. We chose weathered barnwood for its rustic charm, but any wide, roughly 1-inch-thick lumber will work. Don't worry if your board is a little wider or narrower than the one we used; the measurements don't have to be exact, as long as the finished display is stable.
Required Tools
- An electric jigsaw or scroll saw for cutting the rounded front
- A circular or table saw for cutting the boards to length
- A cordless drill with a 1/16 or 5/32 drill bit and a driver bit
- 1 3/4-inch brass or stainless screws
- Wood glue
Measurements
- Base: 10 inches wide by 7 inches deep
- Upright back: 10 inches wide by 15 inches tall
- Front triangle: 6 inches tall by 6 inches wide at the rounded top, tapering to roughly 2 inches wide at bottom
- Two spacer blocks shaped like bottom of front cover triangle, roughly 2 inches tall
Editor's note: Please follow the click-through steps for photo instructions. – S.H.
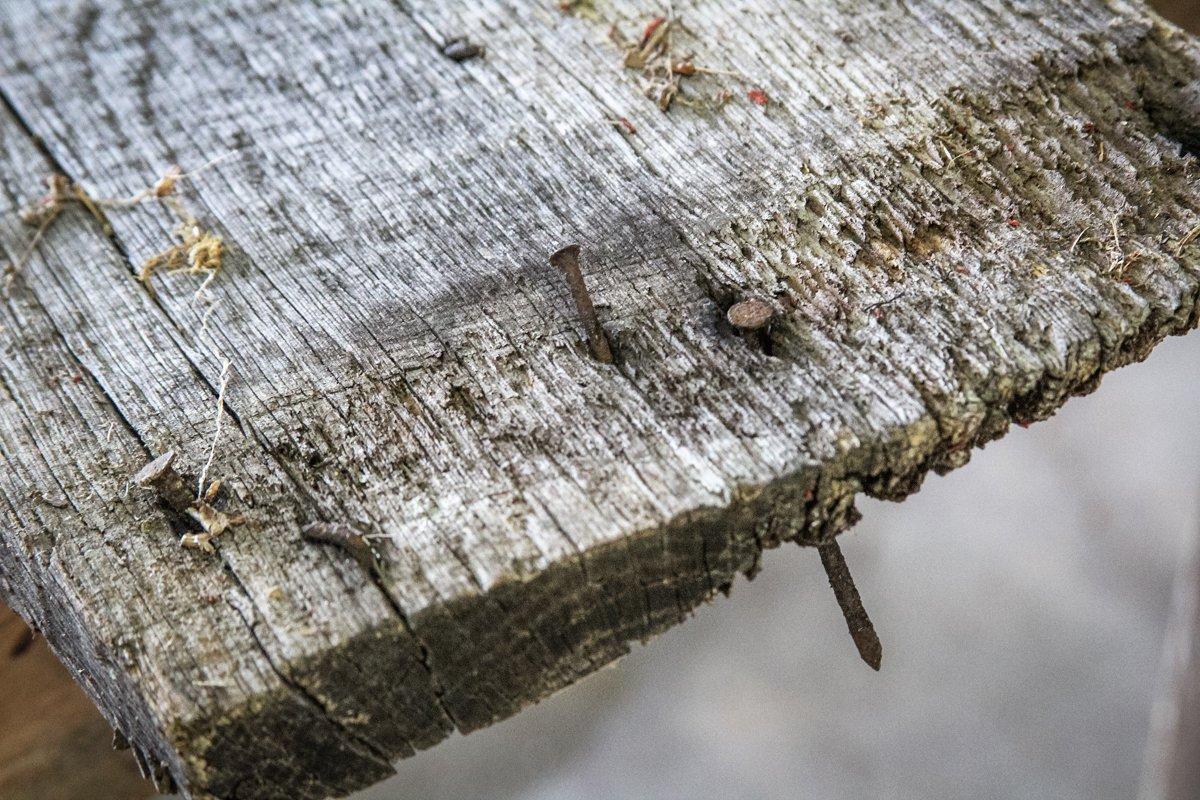
First, check weathered barnwood closely for nails. Not only can hitting a nail with a high-speed saw blade ruin your tool but it can also shoot a chunk of metal in your direction at an eye-popping speed. If the barn was old enough, it might have hand-forged square nails in it. Leaving them in lends character to the finished piece. Just make sure they aren't close to your saw marks.
(© Michael Pendley photo)
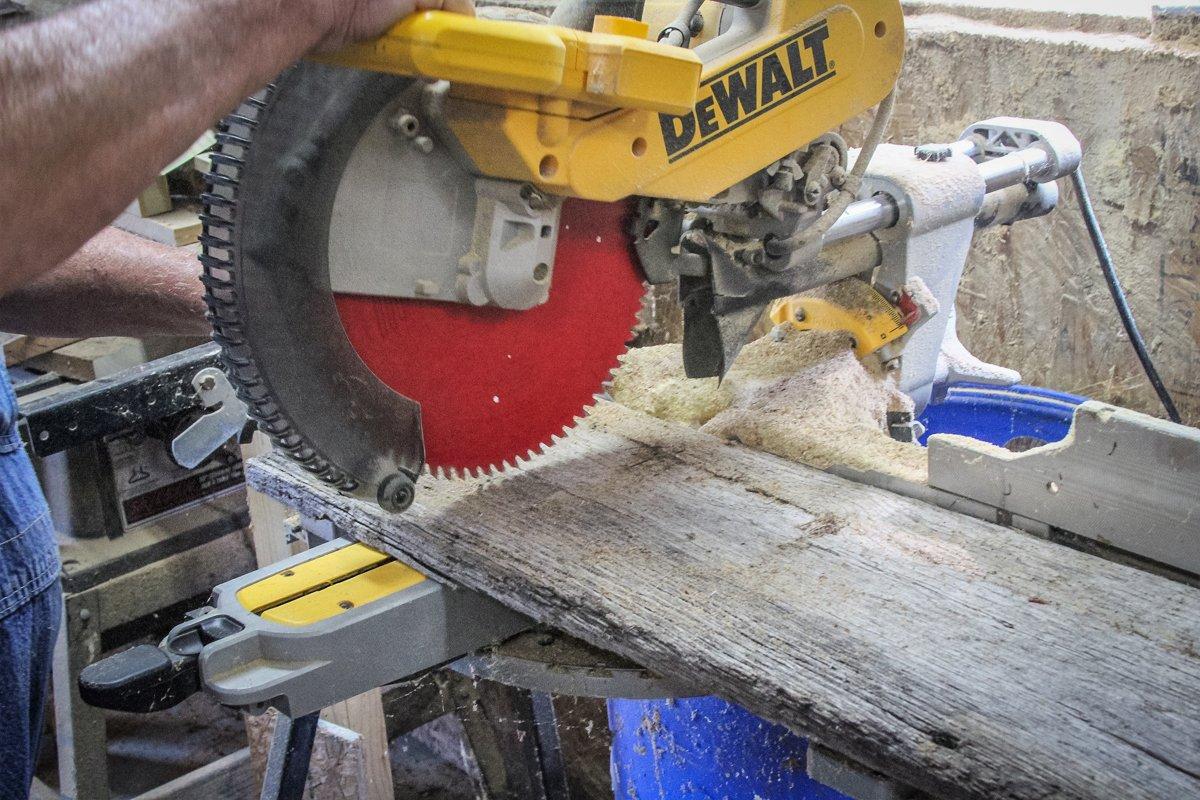
Cut out the individual pieces. Choose the widest lumber you can find for added stability. The back should be at least 15 inches tall if you want to display your turkey's beard below the fan.
(© Michael Pendley photo)
After clearing any nails, use a power saw to cut the boards to the proper lengths. For a more decorative look, use a rounded guide to shape the top and bottom of the front triangle.
(© Michael Pendley photo)

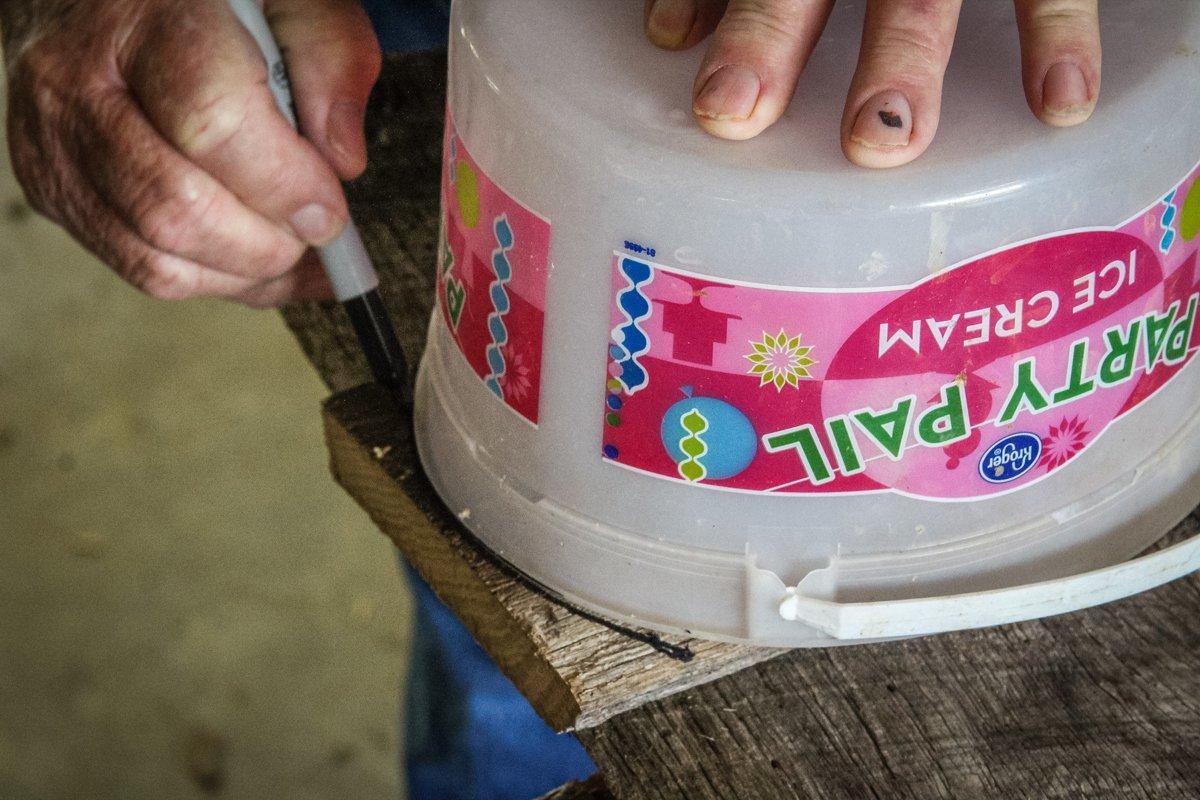
Use a jigsaw to cut the shape of the front display cover and the two spacer blocks.
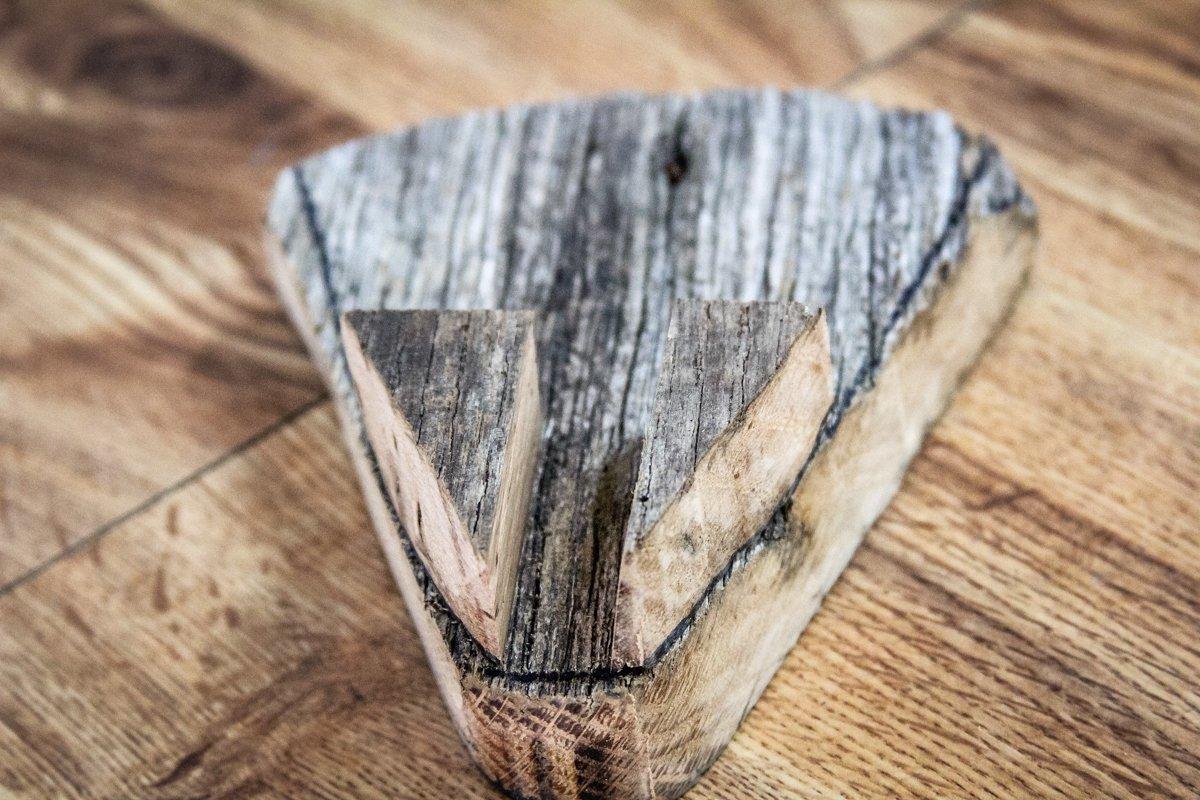
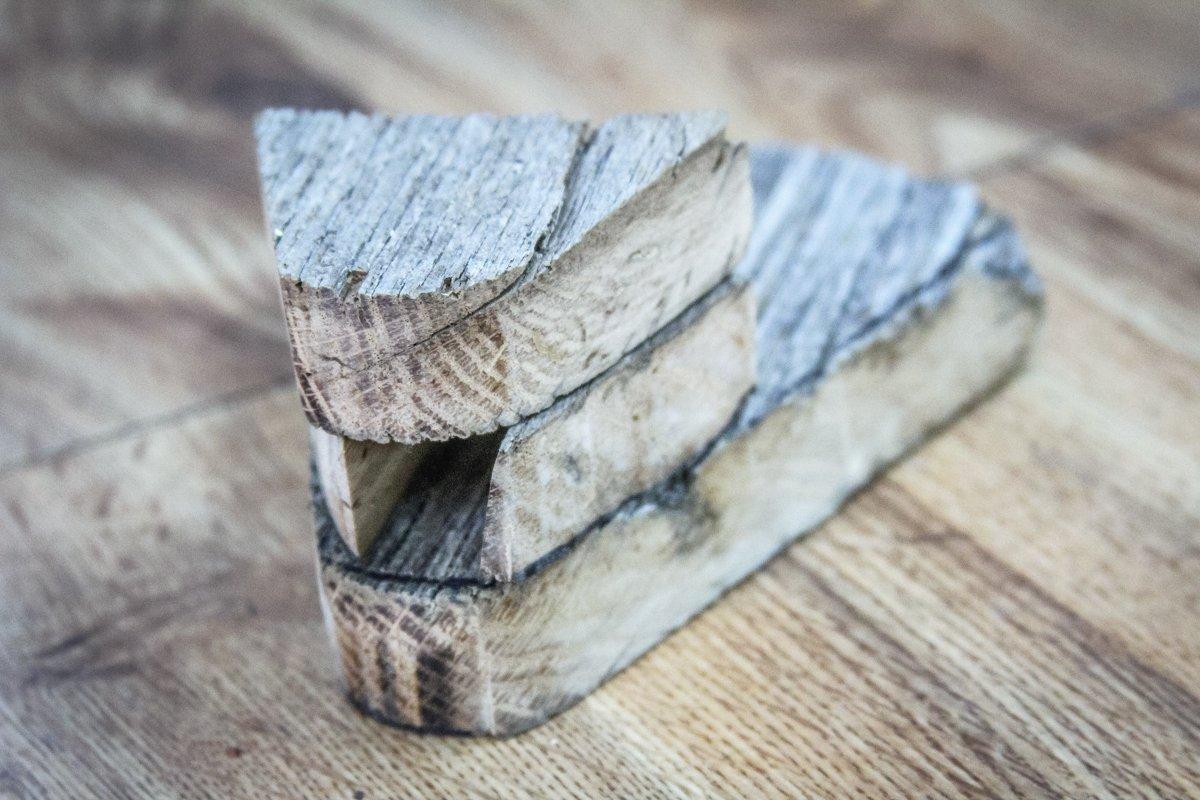
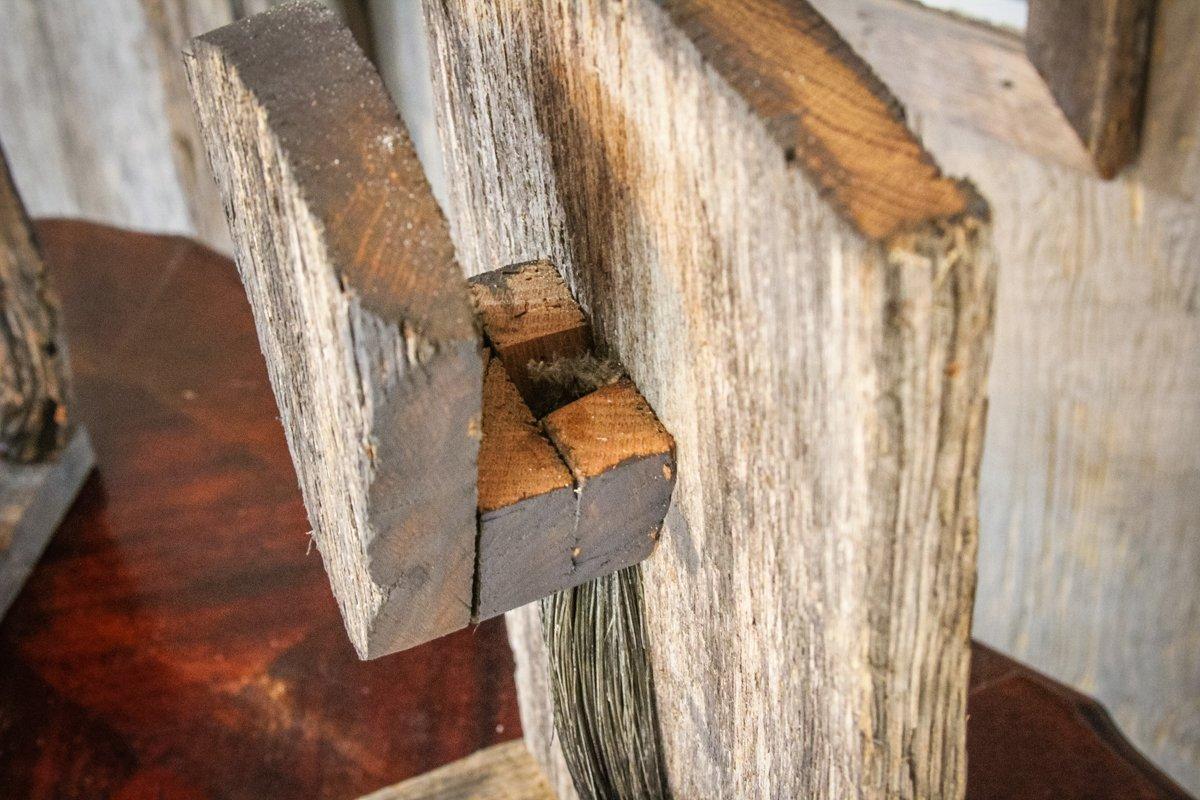
Once the front triangle cover has been cut to shape, use it as a pattern to fashion two spacer blocks approximately 2 inches tall that are shaped exactly like the bottom portion of the front cover. Carefully remove a 1-inch section from the center of one spacer block, leaving two narrow side sections. This allows a space for the beard to hang from the bottom of the front cover.
(© Michael Pendley photo)
Line up the two spacer wedges on the front cover.
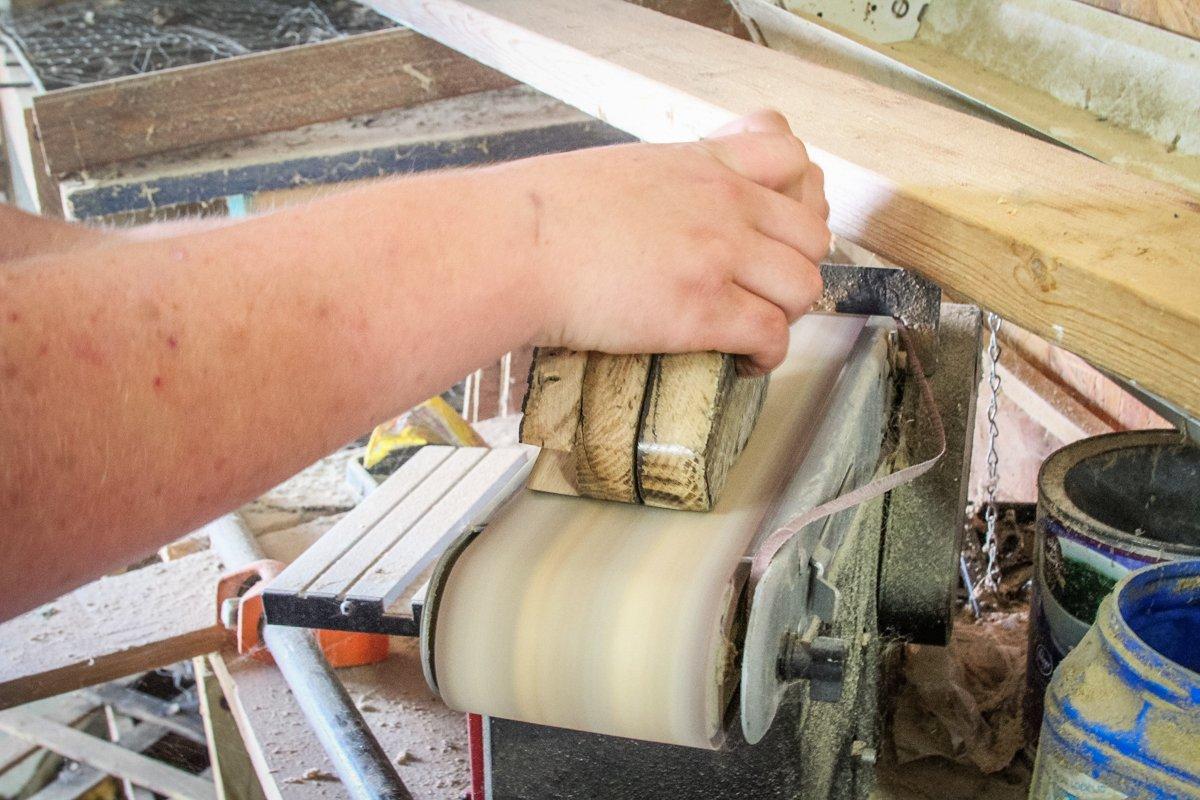
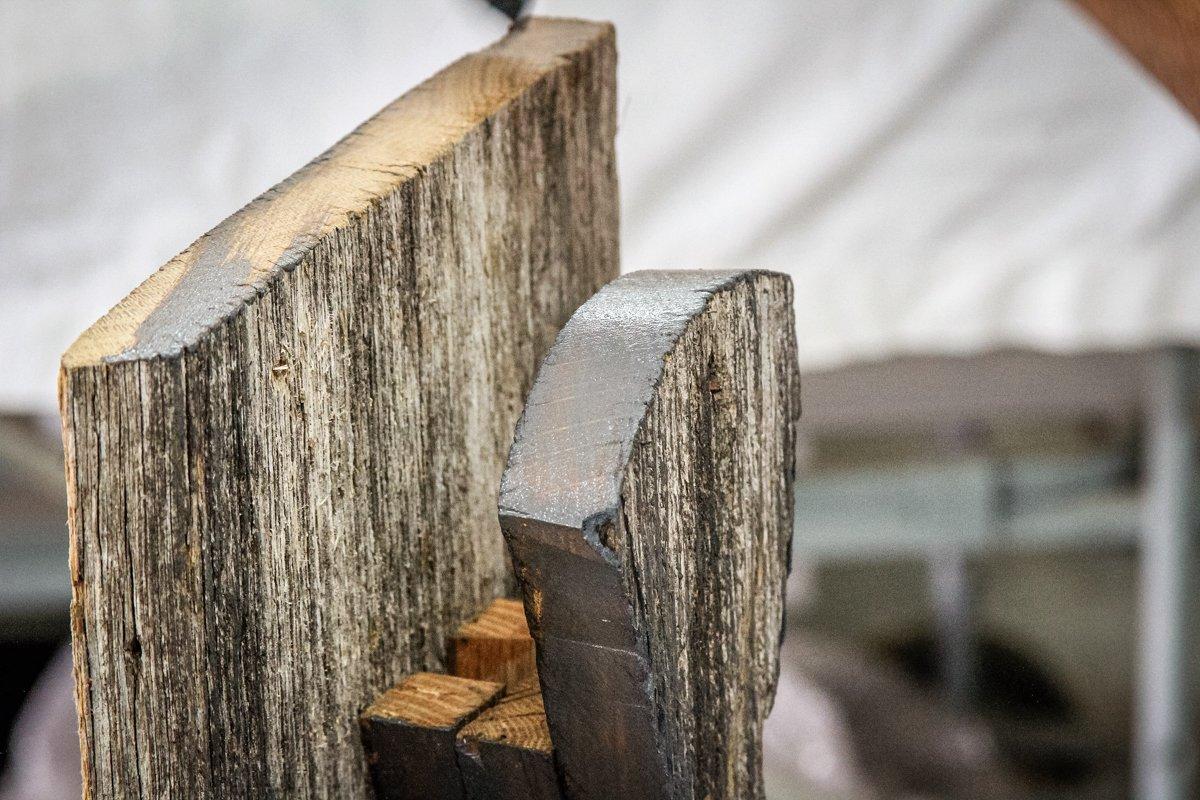
Sand any rough spots from the saw, but don't take away any of the character of the weathered surface.
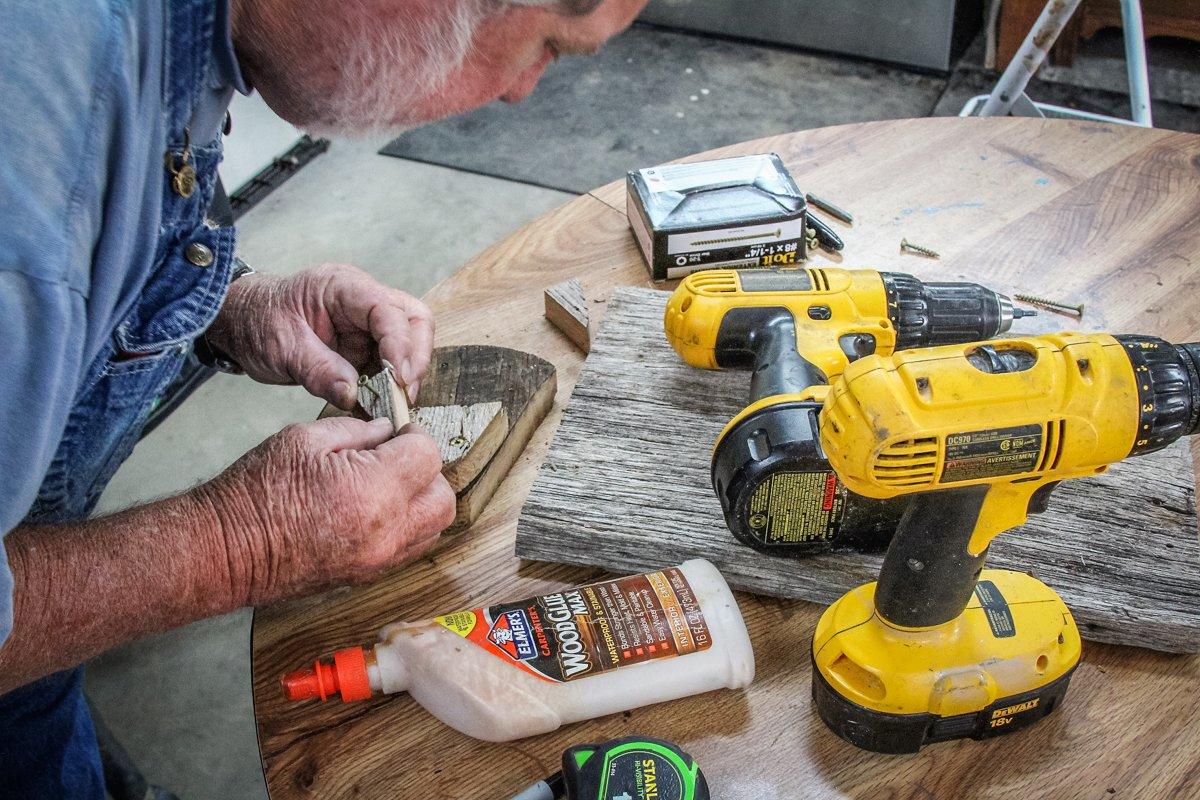
Assemble the stand by first screwing the split spacer to the back of the front cover. Apply a drop or two of wood glue to the joint before screwing tightly.
(© Michael Pendley photo)
Stack the front cover, the two spacer wedges and the back, solid spacer, and glue and screw them together.
(© Michael Pendley photo)
Use a drop of glue between each joint before screwing them together tightly for added strength.
Next, glue and screw the solid spacer to the backs of the split spacer sections. If needed, sand the three connected sections to remove any part of the spacers that might stick out behind the front cover.
(© Michael Pendley photo)
Once the two spacer layers have been attached to the front cover, sand the sides so that all three layers match.
Lay the display flat, front-side down, with the bottom of the back panel extended off your work surface. Line the bottom and back pieces up, drill a pilot hole in the center, and glue and screw the two sections together. Make sure the back and bottom sections are square and in line with one another, then drill an additional pilot hole on either side of the center screw and add two more screws for a total of three, holding back and bottom panels together.
(© Michael Pendley photo)
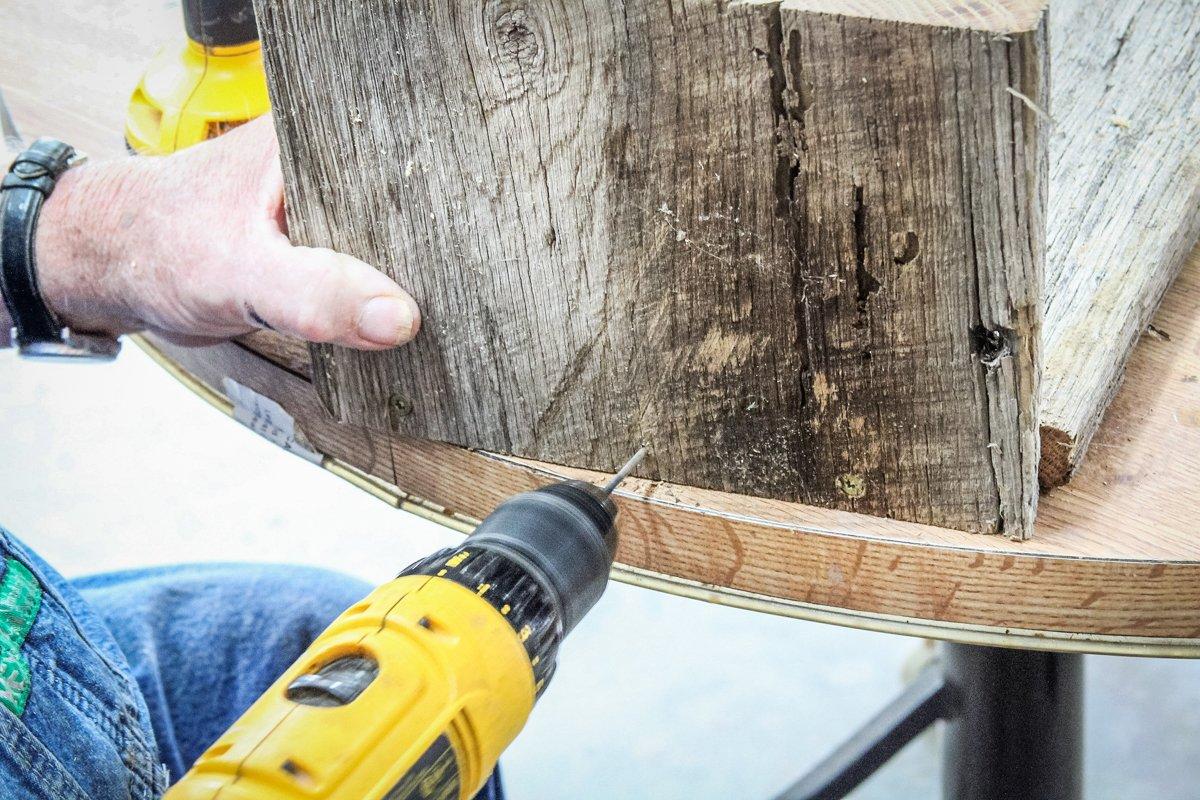
Use screws and wood glue to attach the bottom and upright back sections together.
Center the bottom of the triangle cover on the back-display board approximately 10 inches high on the back panel. Hold the front cover in place and drill two pilot holes through the back of the panel and into the thickest part of the spacer blocks. Apply glue to the joint, and screw the front cover on from the back side of the panel using two screws.
(© Michael Pendley photo)
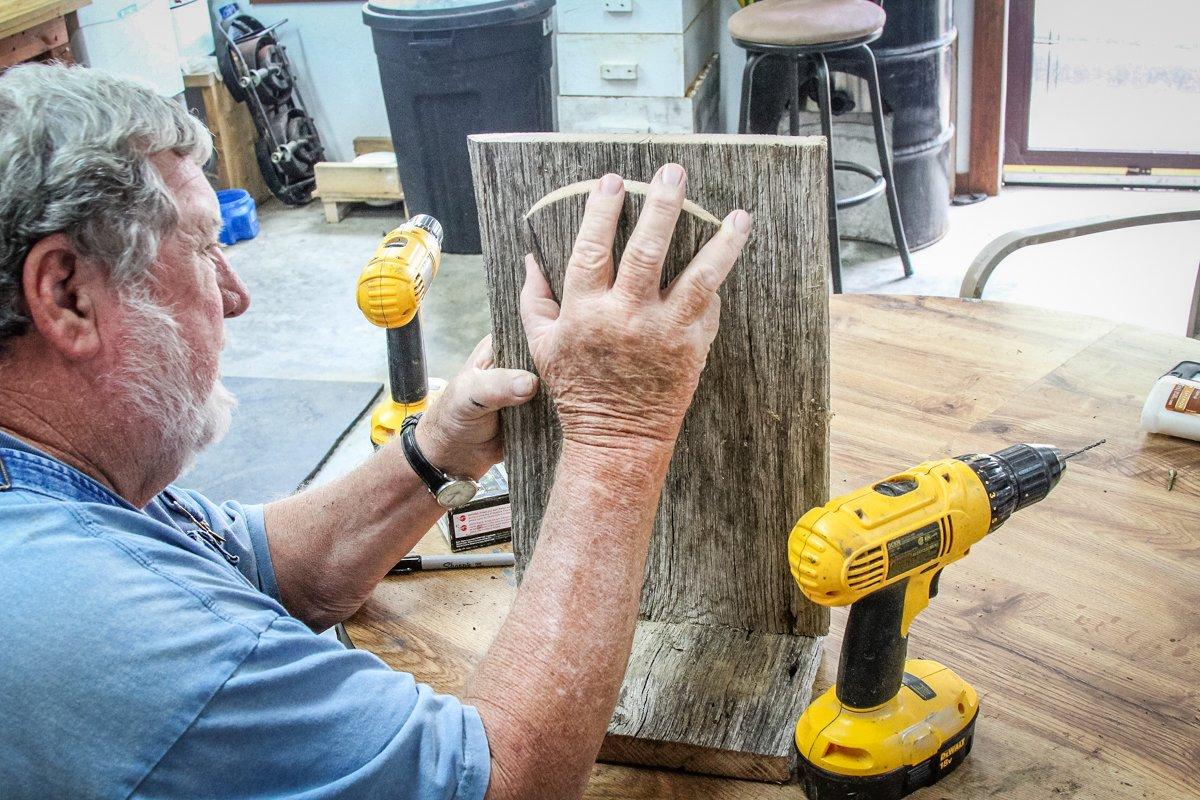
Attach the front cover to the upright section by pre-drilling pilot holes from the back and inserting screws.
(© Michael Pendley photo)
Suspend your turkey beard by inserting it into the open spot between spacers and out the bottom of the front cover. Tie it with thread or tack it behind the front cover. Secure with a drop or two of hot glue. If desired, apply gray stain to the freshly sawn edges to make them blend with the weathered barn lumber.
You could add a personal touch by saving the spent hull from your hunt and using it to display your beard. Simply drill out the spent primer, run a string through the shell and tie in a large knot, and then pull the knot snugly inside the brass. A drop of hot glue where the string runs through the primer hole will hold it in place. Insert the base of your turkey beard into the open end of the spent hull and secure it in place with a drop or two of hot glue.
Add your dried tail fan to the display by dropping it between the back and the front cover.
(© Michael Pendley photo)
If you prefer the weathered gray color of the barnwood, use a stain in a similar color to darken the freshly sawn sides of the wood.
(© Michael Pendley photo)
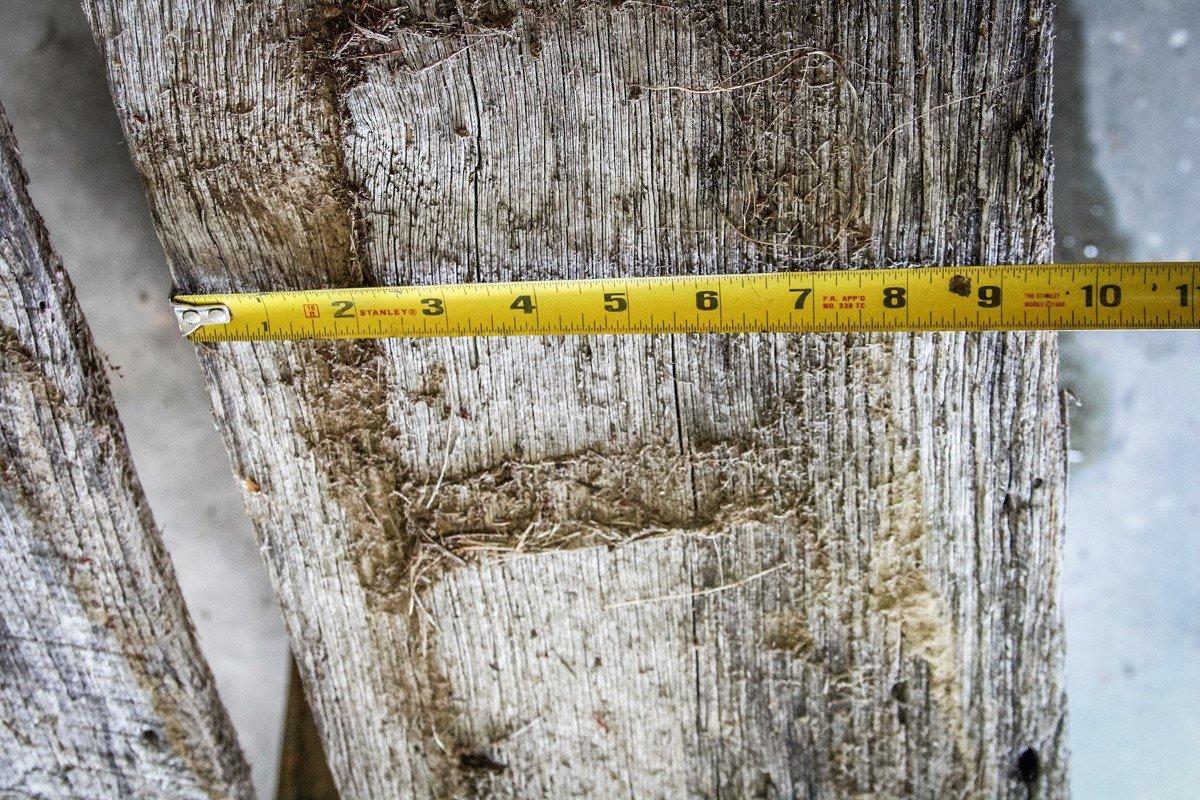
While there isn't a set width for the display, wider boards in the 8- to 10-inch range make a more stable display.
(© Michael Pendley photo)
To display your turkey's spurs, use a hacksaw or rotary tool to cut through the leg above and below the spur. Use a drill with a 1/4-inch bit to hollow the inside of the leg. Hang the spurs from a string on either side of the beard, or put both spurs on one string and hang with the beard.
Another way to display the spurs is to leave the legs intact from the knee down. Remove the legs at the knee joint when cleaning the turkey. Press the feet into a standing position, toes out, legs up, and pin them in place to allow them to fully dry in that position. Stand the full legs up on your display base on either side of your beard.
Make your display even more personal by adding a photo of your successful hunt to the display stand, either on the front cover or to one or both sides of your base, beside the beard.
(© Michael Pendley photo)
More Realtree turkey hunting. Follow Realtree on Facebook.