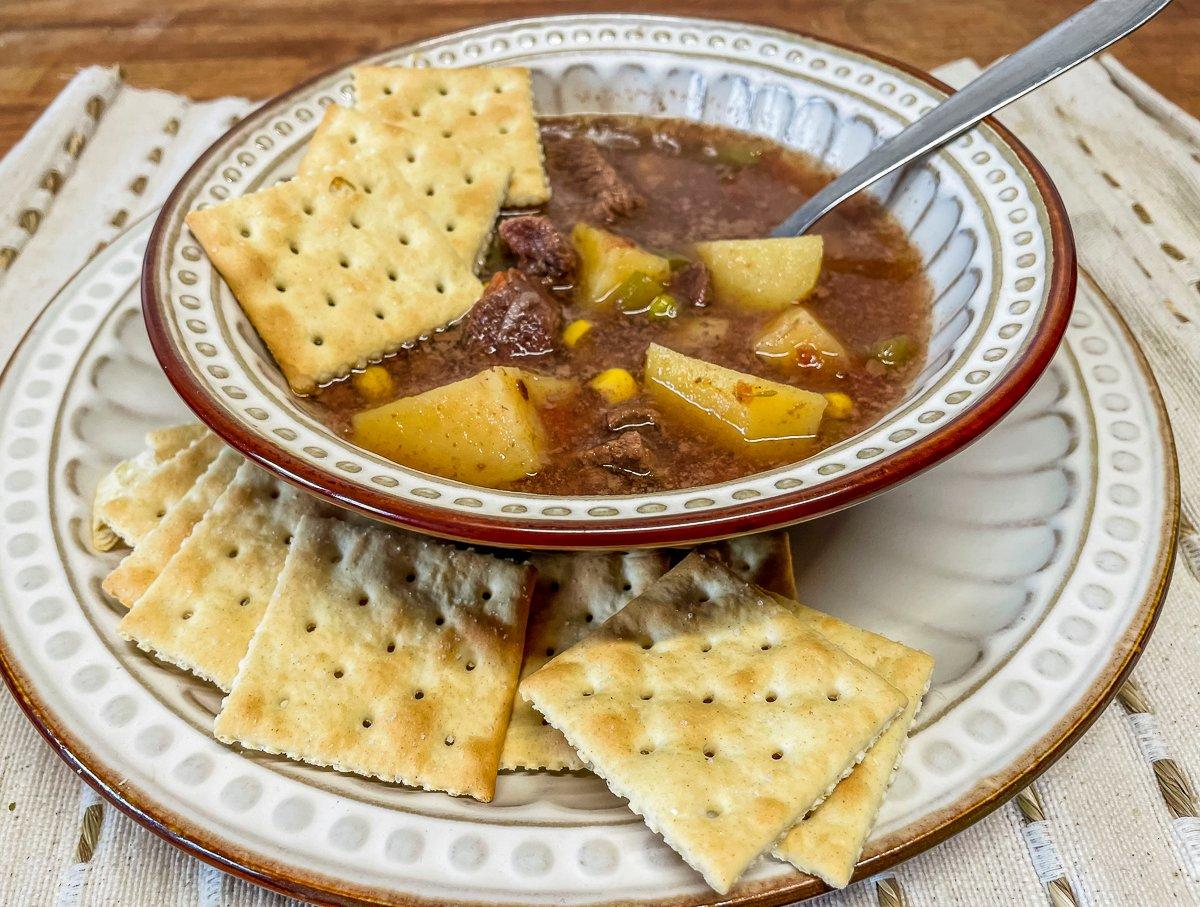
It's easy to can your own soup at home, made with venison and other high-quality ingredients
Can Your Own Venison and Vegetable Soup
60 Min
Prep Time
75 Min
Cook Time
Medium
Difficulty
There is no denying the occasional yearning for a warm bowl of soup after a cold day afield or at work. It just seems to warm you from the inside out, melting away the bone-chilling cold that being outside in the winter brings.
Sure, opening a can of commercially produced soup is handy, but have you ever read the ingredients list on some of those? What is some of that stuff? Doesn't sound like good soup ingredients to me.
What if you could make your own canned soup from venison and vegetables that tastes even better, keeps just as long in the cupboard, and is just as handy to pour and heat? You can. All you need is a pressure canner. Besides great soup, canners are perfect for putting up sauces, jellies, soups, fish, and just about any game meat, including venison, in a shelf storable version that just needs to be heated to be enjoyed. It's a great way to store excess meat and produce that you can't eat before it goes bad when you don't have enough freezer space to hold it all.
For this recipe, we start by browning the venison in a heavy pot, then we add the vegetables, broth, and seasonings, bringing it just to a simmer to blend the flavors. From there, it gets packed into clean glass jars, each topped with a new lid secured by a screw-on ring, then pressure canned. Since pressure canner brands can vary slightly, check the owner's manual for exact pressure and cooking times. For my 22-quart Mirro brand, pints take 75 minutes under 10 pounds of pressure and quarts take 90.
After that, simply allow the jars to cool, check for a good seal, and move them to your cabinet, food shelf, or cupboard. They will keep easily for a year or two, probably much longer. Canning is a great way to ensure your family has plenty of good food in the event of an emergency or extended power outage.
If you are a fan of noodles in your soup, cook them separately and add just before serving. Pasta is one thing that doesn't can well; it gets soft and mushy. Use this recipe as a base, but change it around to match your taste preferences. Like a little more spice? Add red pepper flakes or hot sauce. Have a favorite vegetable? Add it to the mix.
Ingredients
2 pounds venison roasts or stew chunks, cut into bite-sized pieces
1 tablespoon vegetable oil
1 cup onion, chopped
1 cup frozen peas
1 cup cut green beans
1 cup frozen whole kernel corn
3 carrots, peeled and sliced
2 cups potatoes, peeled and cubed
Two 10-ounce cans Rotel Original Diced Tomatoes with Green Chilies
1 tablespoon sugar
2 teaspoons salt, or to taste (plus 1/2 teaspoon added to each jar)
1/2 teaspoon freshly ground black pepper, or to taste
1/2 teaspoon crushed rosemary
1/2 teaspoon ground thyme
1/2 teaspoon ground marjoram
2 tablespoons hot sauce, optional
48 ounces of beef or venison broth
Plus: 8 to 10 clean pint jars with new lids (rings can be reused)
Cooking Instructions
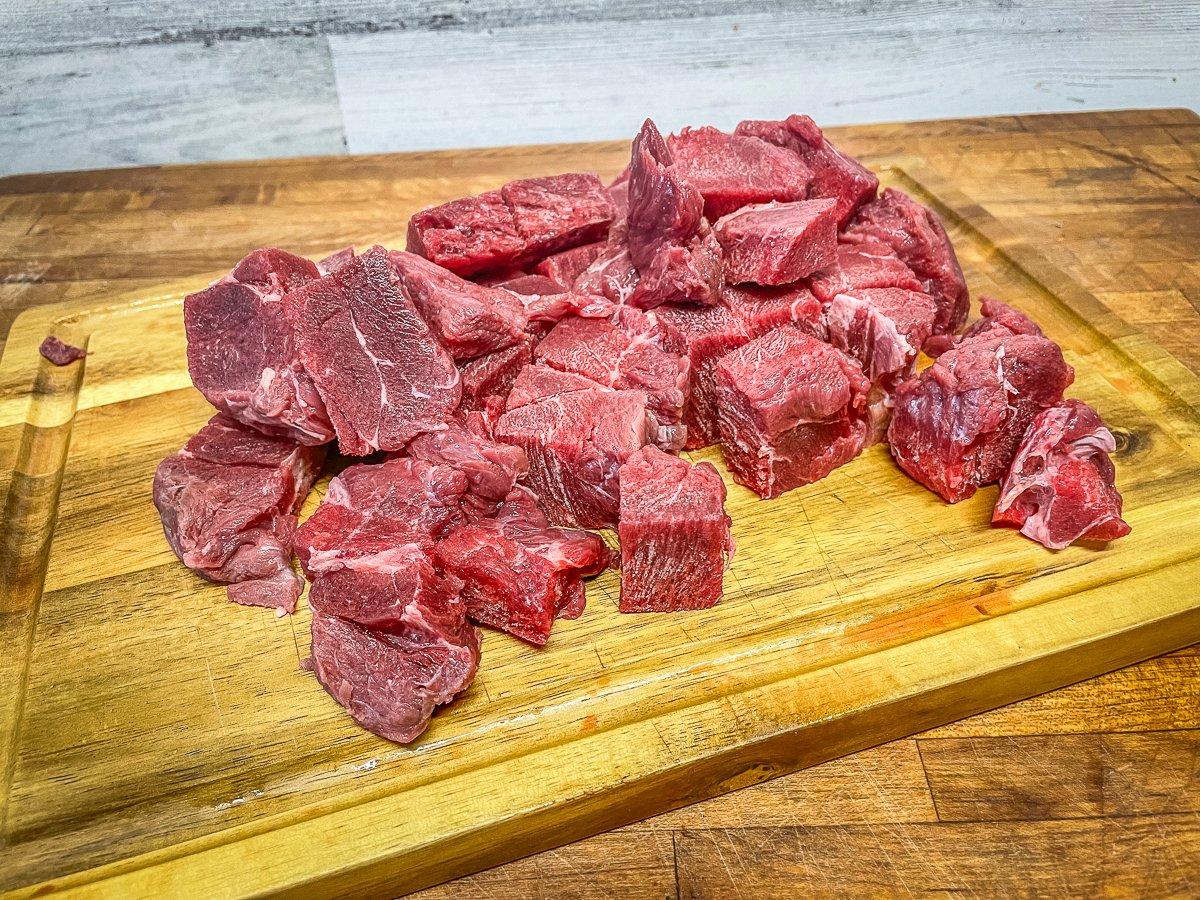
Start by trimming the venison roast and cutting it into bite-sized pieces.
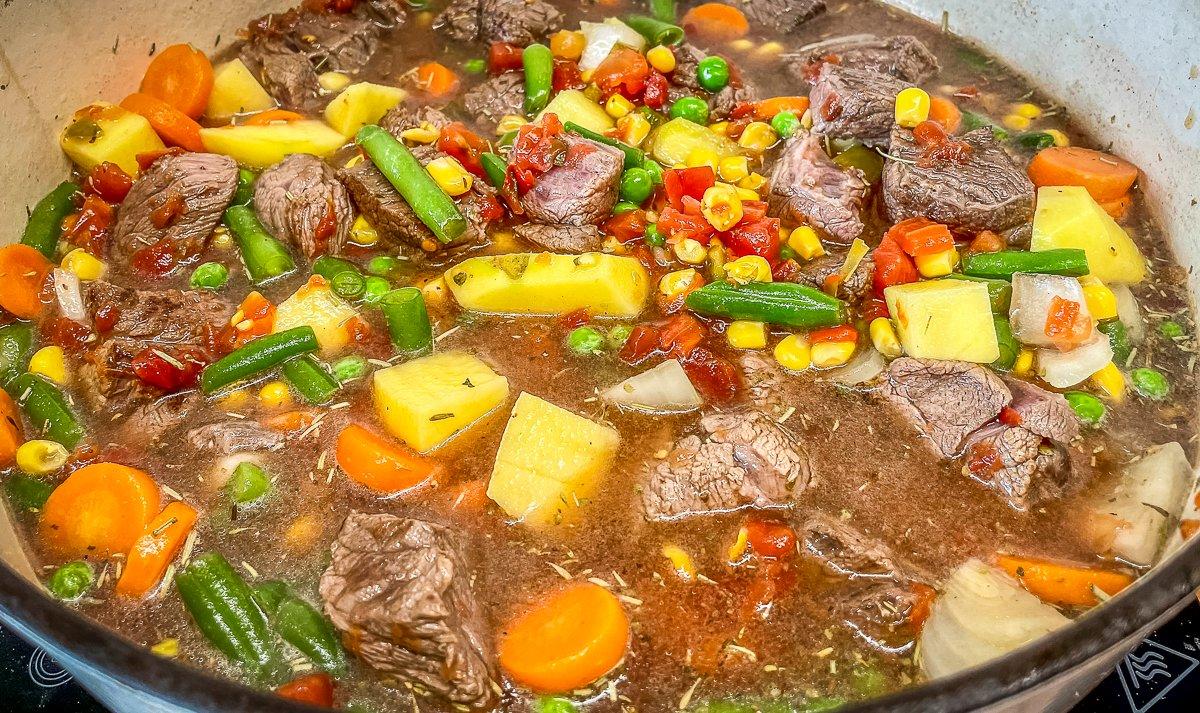
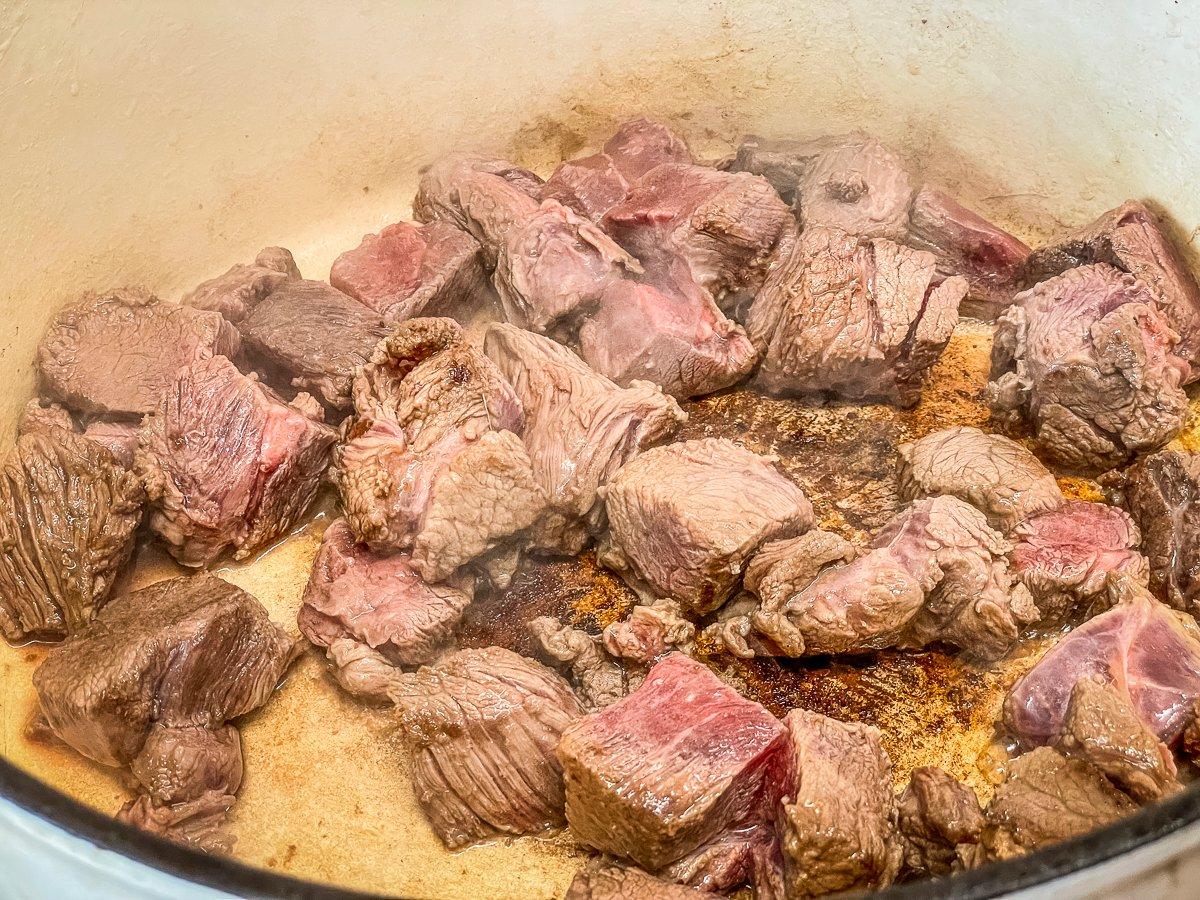
In a Dutch oven or large, heavy pot, heat the oil over medium-high. Add the venison, stirring to brown on all sides. Add the onion, vegetables, potatoes, tomatoes, seasonings, and broth. Reduce the heat and bring to a simmer. Cook for 10 to 15 minutes, then remove from heat.
Wash and dry the jars. I like to heat the rings and lids to a simmer for 10 minutes to sterilize, although modern guides report you can safely just wash and dry them before closing the jars.
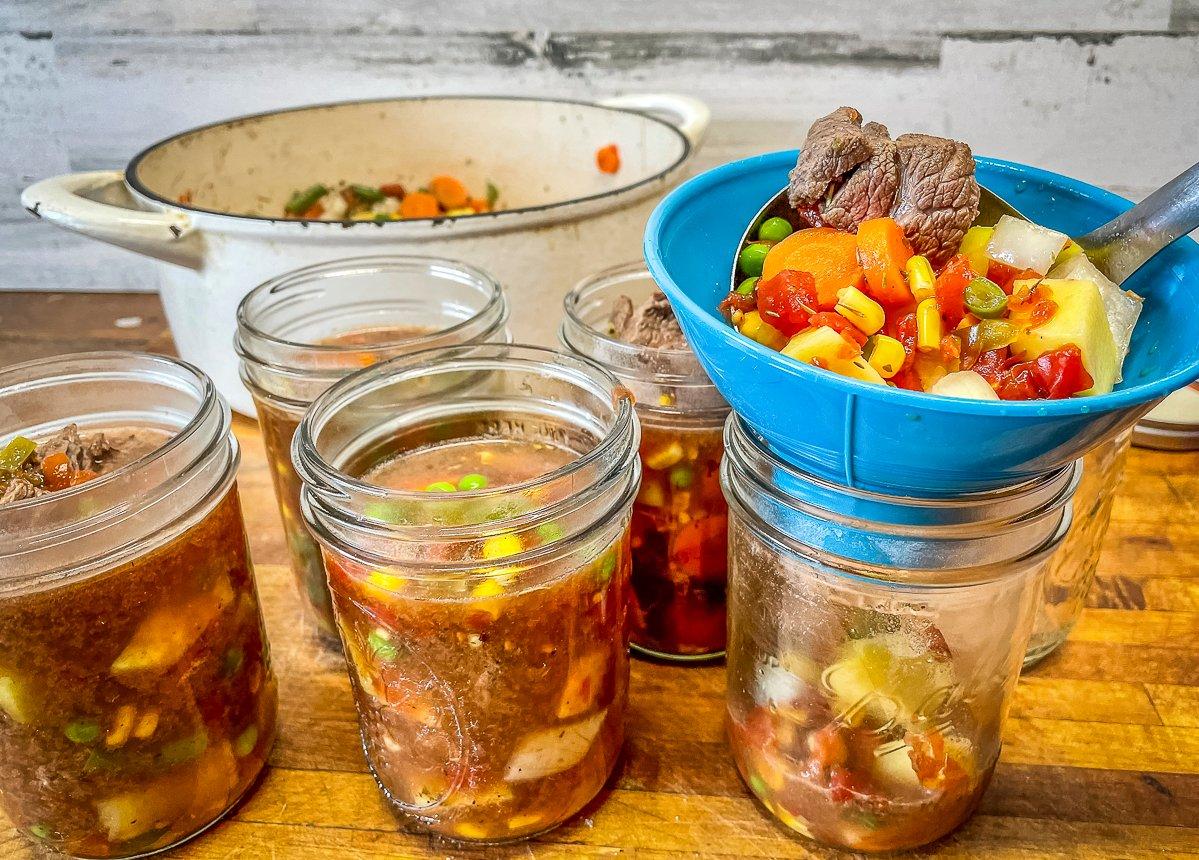
Using a canning funnel to eliminate splatter, ladle the soup into clean jars. Leave about 1 inch of headspace between the soup and the top of the jar. Add 1/2 teaspoon of salt to each jar. Wipe the rims with a vinegar-soaked paper towel to make sure there isn't any residue that might prevent a tight seal.
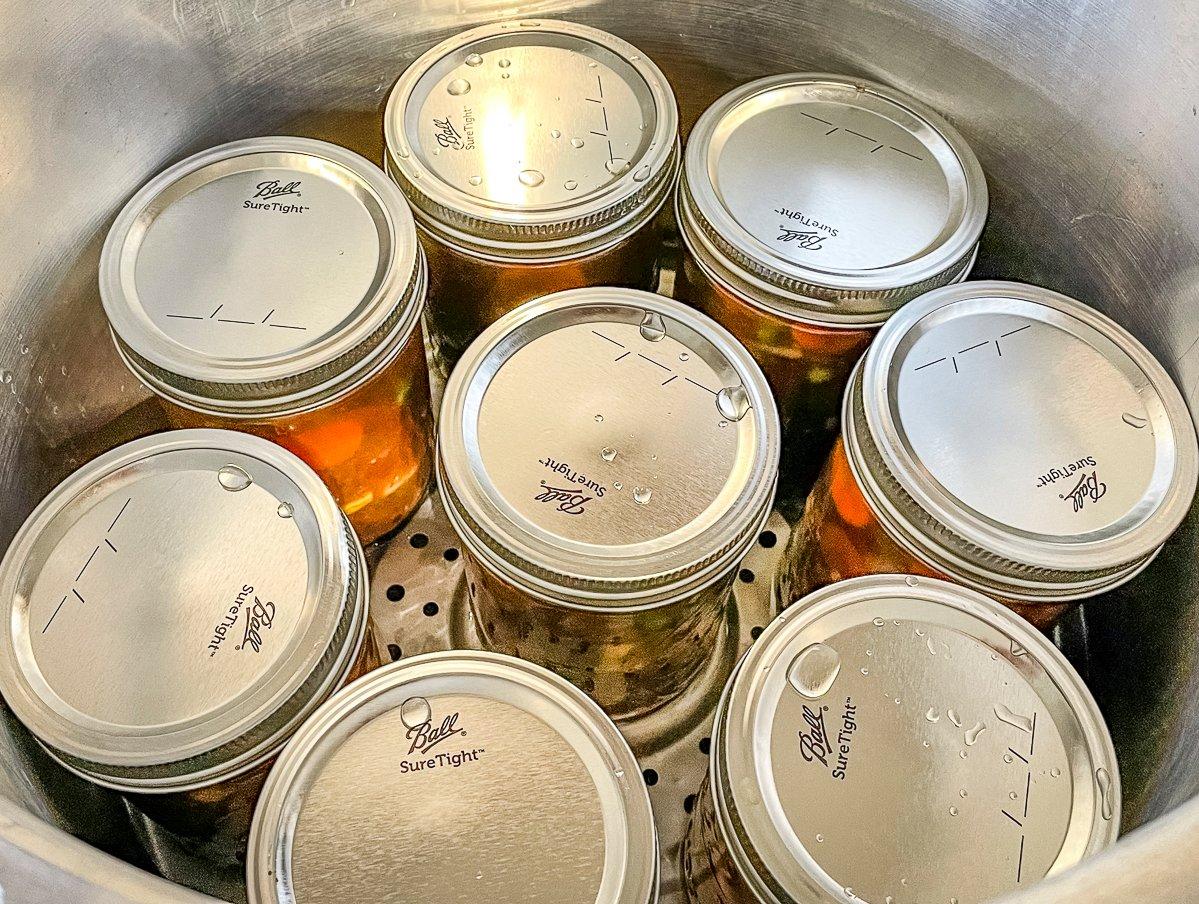
Place lids on rims and then put the rings on finger tight. Follow the directions for your canner for loading and bringing it up to pressure. Process pints at 10 pounds of pressure for 75 minutes, or quarts for 90 minutes.
Once the time is up, turn off the heat and let the pressure in the cooker return to zero. Wait at least another 10 minutes before opening the canner. Using a jar lifter, remove the hot jars and set them in a draft-free location for 24 hours before removing the rings. You may need to wipe down a few of the jars (and rings) after the 24-hour rest period is finished due to seepage that often occurs during processing. Just use warm water and rinse and dry them well before storing. Store with the rings removed. Any soup that didn't seal completely can be stored in the refrigerator and eaten within six to seven days.


