Learn How to Shoot on a Steep Grade
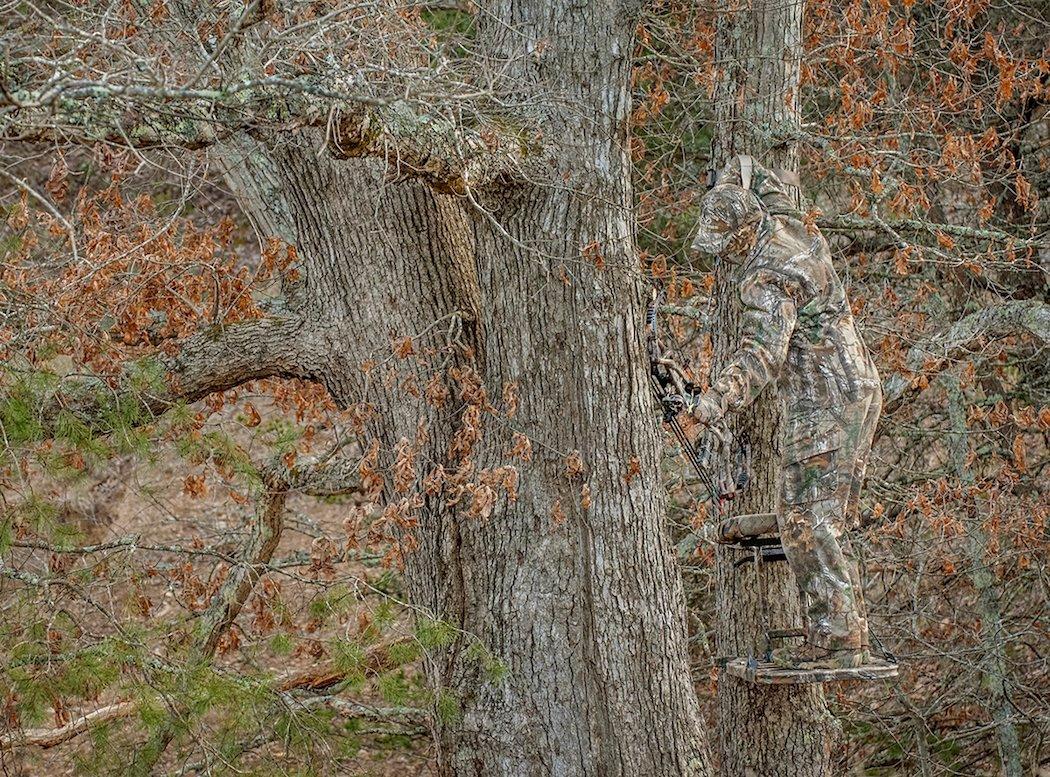
The world isn't flat, as mankind believed before Christopher Columbus discovered the New World, nor is it perfectly round — at least from the perspective of bowhunters faced with an important shot at mountain game, or from elevated positions. The Earth's surface is an irregular juxtaposition of topographical ups and downs, terrain peaks and troughs, hillsides and gully bottoms. What this means is eventually the average bowhunters will find themselves shooting up at a target, or down, sometimes at angles that are quite steep. On technically flat ground, say Kansas or Colorado's Eastern Plains, bowhunters disrupt this carefully ironed ground by climbing into tall cottonwoods, windmills or haystacks to get above it all, lifting our presence and scent above the astute eyes and noses of big game animals, especially the white-tailed deer. This also creates a situation where we're shooting down on our quarry from above. And that's when people often make mistakes.
Shooting steeply uphill or down presents two major dilemmas; proper shooting form in relation to addressing targets off the level, and accurate range estimation and how that directly affects where we hold or which pin we choose to place our shots. The flat-ground, target-shooting hotshot can find themselves thrown a curveball when faced with tilted terrain. Here is some advice on how to prepare for and deal with that eventual contingency.

Off-Kilter Shooting Form
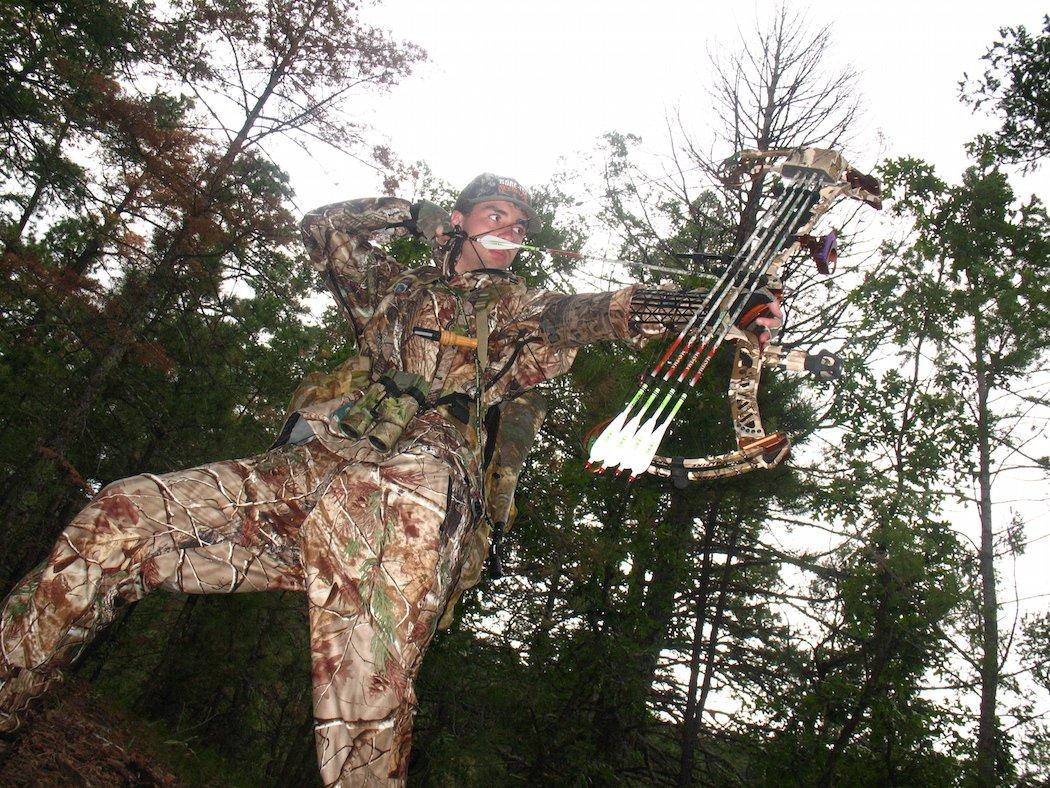
We all have a solid idea of what proper shooting form looks like, but it bears repeating to illustrate how it must change — more accurately, not change — when faced with uneven terrain. On a basic level, proper shooting form includes creating a square T of the extended bow arm, through the arrow at full draw and into the drawing-arm elbow. The head and shoulders sit square over the hips, feet slightly spread, rear foot 90 degrees to the target, front foot splayed outward slightly. This creates the steadiest and most solid shooting base and is part of any consistent shooting program.
The problem encountered when shooting steeply uphill or downhill is the tendency to maintain that square shooting form, keeping the top of the T on the level, but lifting or dropping the bow arm to address a higher or lower target. This automatically shifts anchor point, alters the sight picture, and will generally result in a high or low miss. The bow arm, arrow and draw arm no longer create a square T, but instead a drooping T that has had too much weight hung from a single end, causing one end of the top crosspiece to sag.
The key to maintaining that all-important T form is first learning to lock into solid form before the shot, and then bending only at the waist while addressing the target. Think of the bow arm, arrow and draw arm as the compass needle inside one of those gyroscopic auto-dashboard compasses. It remains static. The waist becomes the gyro mechanism this true-north needle swivels on, the target the magnetic pull. This applies whether standing, kneeling or sitting on a stand seat.
I always say, when addressing animals standing below your treestand or down a steep hillside to bow to the target. When shooting at an animal situated steeply uphill, to bend over backwards to make a good shot. Simple as that.

Lastly, when shooting in steep terrain, or from treestands, consulting the bubble level at the top or bottom of your sight aperture becomes equally important to reliable accuracy. The human eye has a tendency to tilt the bow with the slope of the terrain, which automatically causes left-and-right misses. A properly adjusted bubble level, meaning properly-adjusted, second-axis setting, is vitally important. I use a bow level set and bow vice to get it right during setup.
Getting the Range
The other problem in uneven terrain is getting an accurate range on sloping shots, especially while using a laser rangefinder. The main problem is straight-line ranging on tilted terrain does not give you a true measure of distance. Many blame this on gravity, but it is actually a function of Pythagorean Theorem, a geometric factor that means angular distance does not match line-of-sight yardage. More laser rangefinders today come equipped with compensated ranging technology, so they contain an internal inclinometer that automatically calculates slope angle and does the math for you, providing an accurate geometric range instead of the straight-line yardage. They are great tools and save time during sudden appearances of game.
Still, if you don't own a laser rangefinder with compensating technology you can get accurate incline/decline readings with a few simple tricks. Compensated yardage is most easily determined from a tree-stand. This begins well before the appearance of game. After installing yourself on stand, or just after first light, take the time to earmark ranges around your ambush site. Here's the trick; instead of taking laser pops directly off patches of ground, sticks or stumps at ground level, take readings off of tree trunks or branches on the level and straight across from where you sit. By approaching range-finding in this manner you receive the compensated range for any animal standing at the bases of those trees.

This can prove trickier when standing at ground level — situations commonly encountered while stalking, say, bedded mule deer bucks in alpine settings, or dogging bugling elk in broken mountain terrain. But by keeping a clear head and taking a few additional seconds to employ your laser rangefinder properly, you can still receive a compensated range. The trick is to find a treetop near the animal and on the same level as you stand. Range on the level, straight across to that tree, and you have the corrected range for anything standing at the base of that tree. With a smidgen of eye-ball range-judging skills you can learn to get a compensated range from a tree near a downhill animal and add or subtract yardage as necessary to the animal itself.
The Scenario
Steep uphill shots are trickier still, but not impossible. Unless a bighorn ram or mountain goat billy stands on top of sheer cliff, allowing you to pop a straight-line range into a vertical-cliff base, you're going to be largely left guessing. But you can make that a best-guess estimate. Let's run through a basic scenario: Say you're standing on a steep hillside looking up at a bugling elk, or it could be a feeding mule deer. First you take a straight-line pop to that animal to establish a starting number. You then turn around, and with the laser rangefinder, quickly find a tree base at the same range as your uphill target, straight-line yardage (granted the slope remains similar, or mirrors the fall of the ground above). Once you find a tree base that correlates to the uphill range already garnered, move the rangefinder pointer up that tree and on the level and take another pop. The range provided should give you a close approximation of the range to your uphill target. Of course, with amble rehearsal this comes off faster in practice than the time required to read this. In areas without trees, well, you're pretty much out of luck.
White-tailed deer, in particular, are generally shot at close ranges. Rocky Mountain elk are big critters. So why do we miss easy shots at such animals? Up or downhill shots are likely the culprit, and improper shooting form or range judging that often result. Use this information to avoid common pitfalls, and convert on those hard-earned shot opportunities from stands or in steep mountain terrain.
Editor's Note: This was originally published September 21, 2016.
Click here for more deer hunting articles and videos.
Check us out on Facebook.


