Do You Know How to Score a Whitetail?
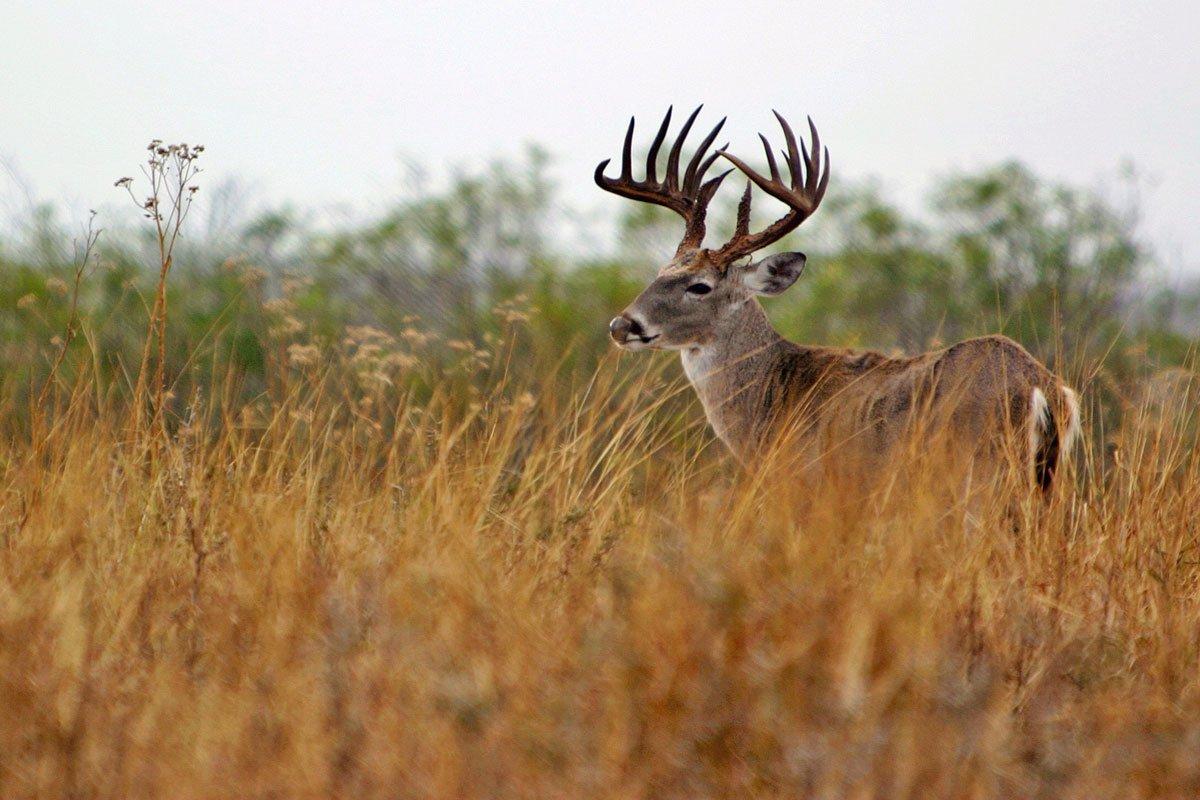
Bad Boys. Bruisers. Booners. Many nicknames describe huge whitetail bucks, but I like Booner most. It means that the buck's antlers are so big that they are listed in the Boone and Crockett record book.
Boone and Crockett Club
Even before record books were invented, hunters have always recorded the sizes and measurements of racks on the deer they killed. This helped sportsmen remember how big the animals were and compare them to bucks shot by other hunters. But without one universal way to measure and tally rack sizes, many hunters argued which bucks truly were the biggest.
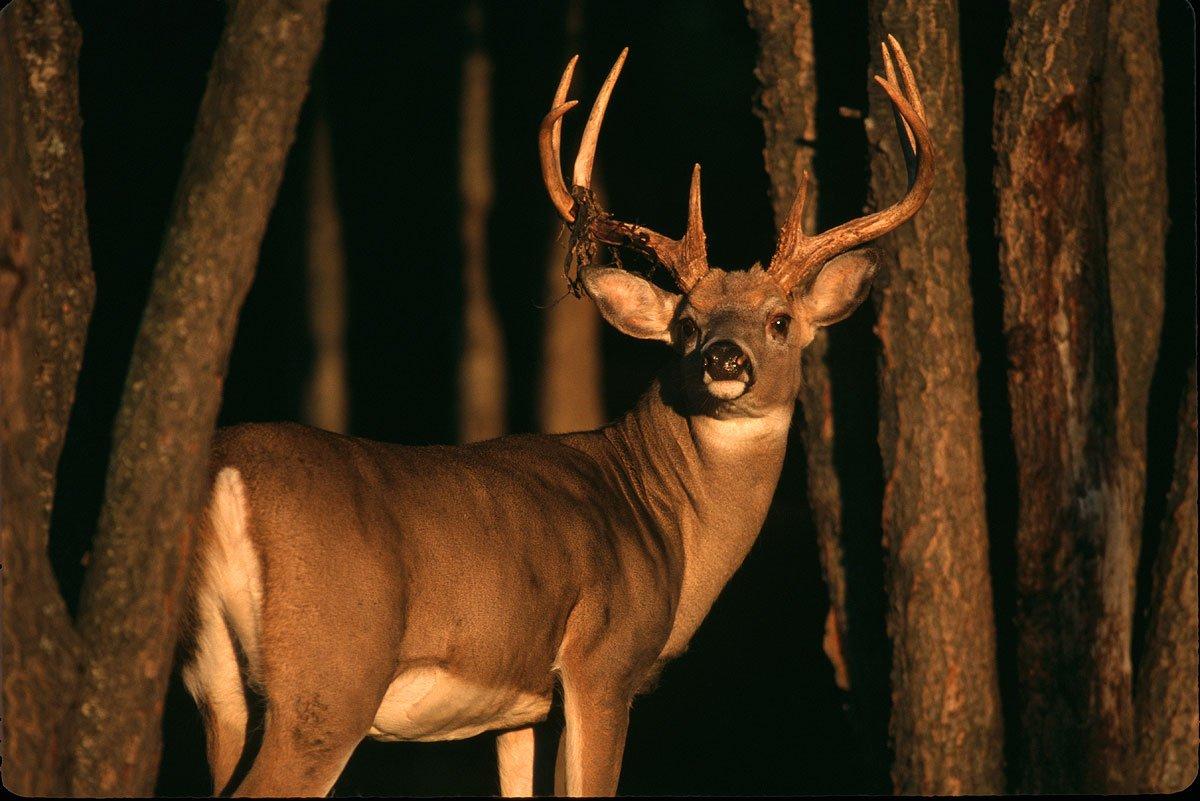
Hunters love using the B&C scoring system to compare animals and talk about big bucks. It's definitely better than just arguing about which buck is the biggest. Now, when a hunter asks another hunter how big his deer was, it's easy to answer with a B&C score.
Don't Miss: Realtree's New Booner News
The Record Book
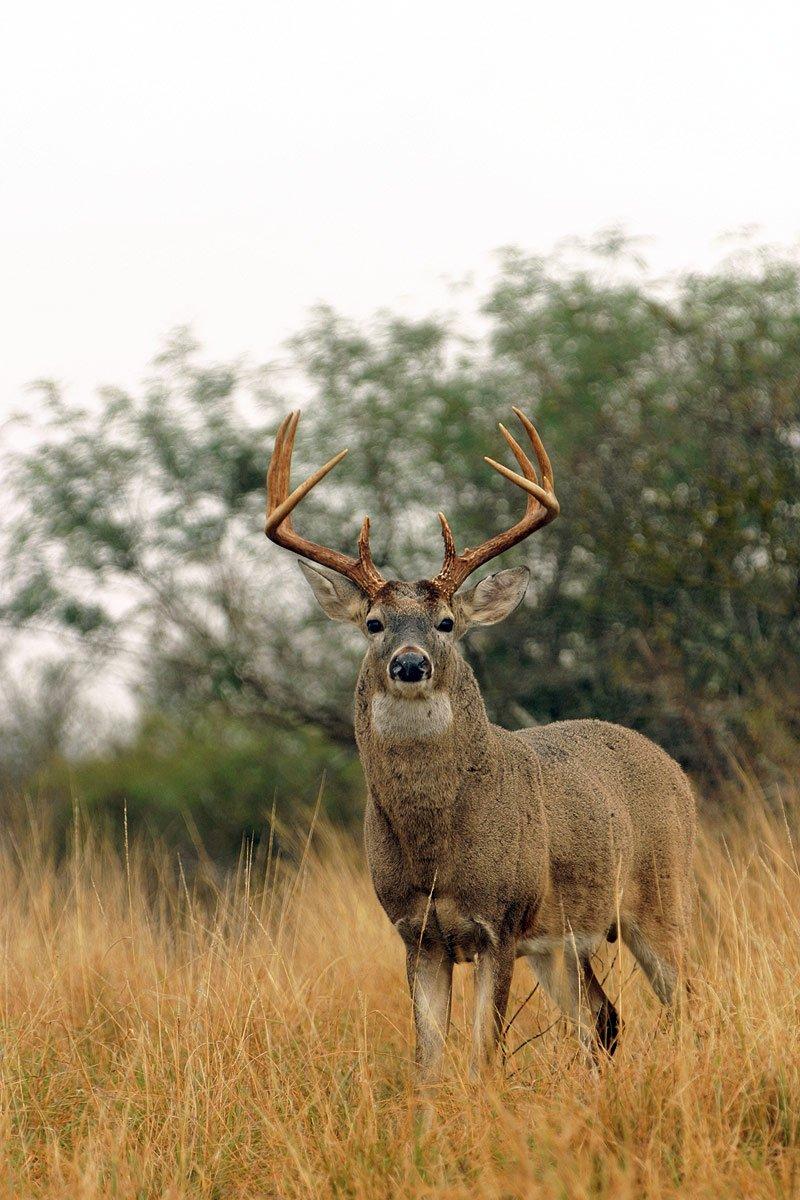
In addition to the typical and non-typical categories, the record books also offer two award categories: award and all-time. The award recognition category stays printed in the book for three years, while the all-Time category trophies stay in the book forever. For whitetails, the minimum scores to make it in the record books are as follows:
Typical minimum score: 160 (awards); 170 (all-time)
Non-Typical minimum score: 185 (awards); 195 (all-time)
Measurements That Matter
The B&C system is based on the most typical antler configuration for a given species. Therefore it rewards symmetry — bucks with the most symmetrical antlers rank the highest. Bucks with a number of abnormal points are registered in the non-typical category.
- Take all measurements with a flexible steel cable or ¼-inch flexible steel tape.
- Enter fractional figures to the nearest eighth of an inch.
- Be sure to keep the measuring tape or cable tight and centered against the beam or point. Any slack will skew the final score.
The Point-Taking Process
1) Document the length of both main beams.
- Start from the center of the lowest outside edge of the burr on the outer side of the main beam.
- Run a flexible steel cable along the center of the outer side of the main beam all the way to the tip of the main beam. At the tip, mark the cable (you might use an alligator clip) to identify the end of the main beam. Use the ¼-inch steel tape to determine the length of the marked cable.
- Use a partner to hold or masking tape to secure the tape or cable to the beam to ensure the cable follows the antler's centerline.
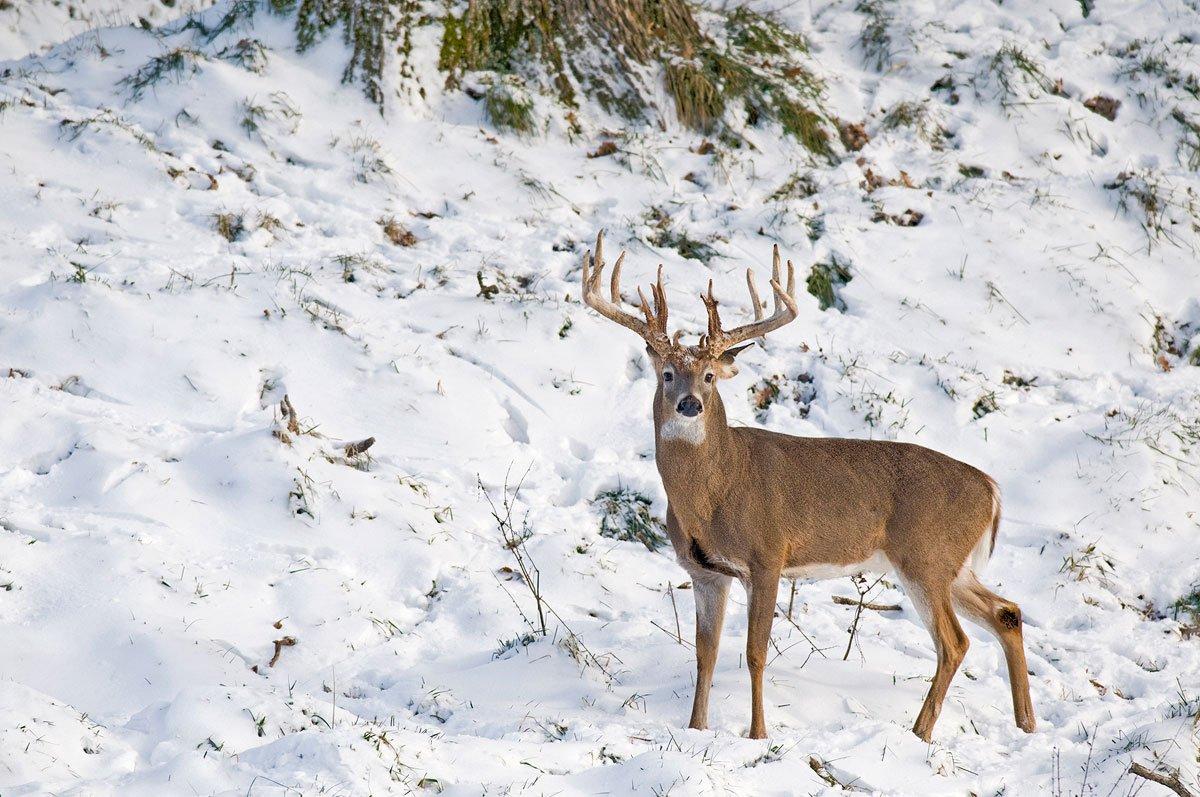
- A point must be at least 1 inch long to qualify as a point, but at the 1-inch mark it cannot be wider than 1 inch (it can't be wider than it is long, in other words). Line up the steel measuring tape along the outer, top edge of the main beam under each main point. Mark this baseline with a pencil. This line represents what the main beam would look like if the point was not present and is your starting point for measuring the tines.
- Start at pencil baseline and measure the center of the outer side of each point all the way to the tip. A partner or masking tape will help during this step.
3) Document four circumference measurements of the main beam. All antler racks have only four circumference measurements, regardless of the number of points per main beam.
- Start at the smallest point between the burr and the first point and repeat the measurements between all main points until you have recorded four circumference measurements.
- If the brow tine (G1) is missing, take the first and second main beam circumference measurements at the smallest place between burr and first main point.
- In the case of an 8-point whitetail, the fourth point (G4) is not present. Take the H4 measurement halfway between the third point and the tip of the main beam.
4) Determine the spread credit.
- Spread credit is the widest point in between main beams taken perpendicular to the skull. (The widest point between the main beams).
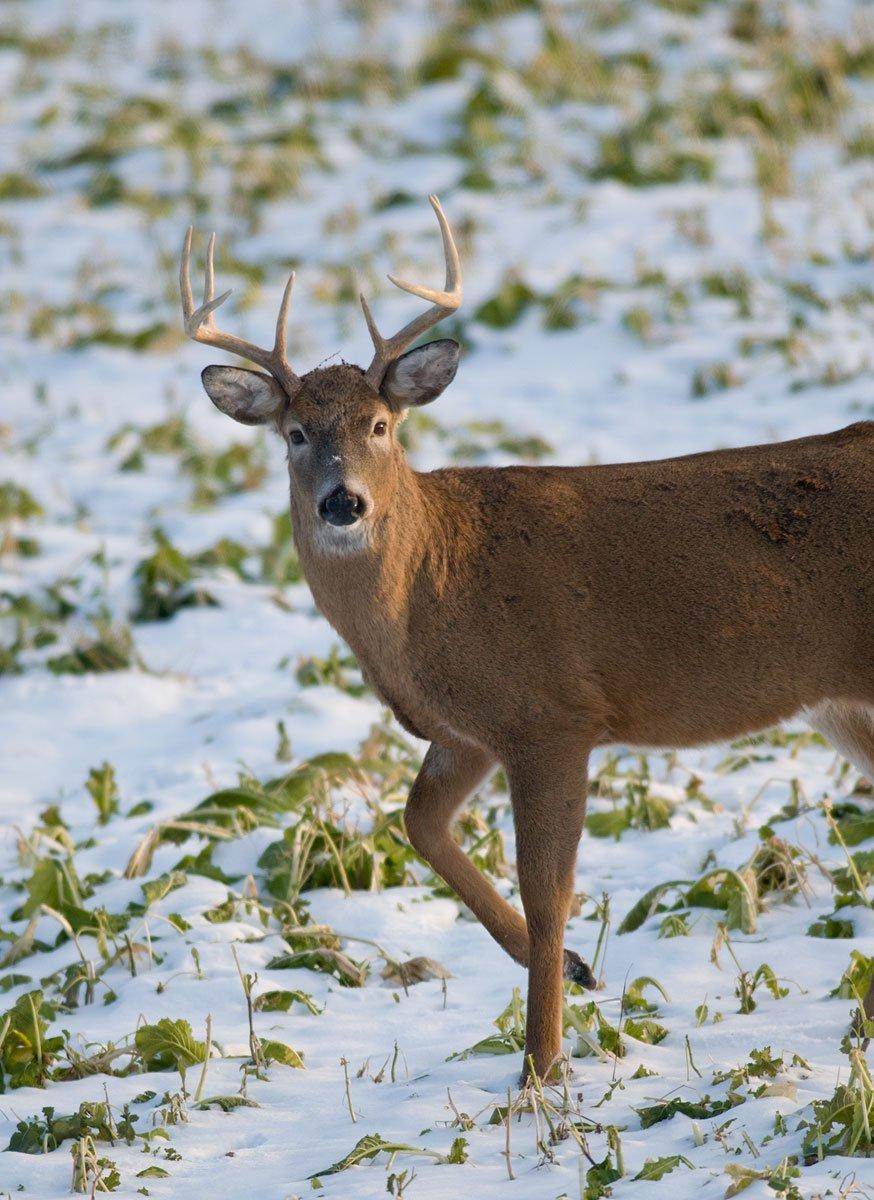
- Abnormal points are non-typical in their location. Examples include smaller points that extend from the bottom or sides of the main beam or main point, or extra points that exist beyond the normal pattern of points.
6) Keep track of the difference of each parallel measurement between the right and left antler.
- Measure the bigger antler first. Then, determine the difference of the same measurements for the smaller antler. Do this for the main beams, main points and circumference measurements.
QUICK SCORING STEPS
Here's a quick-hit summary of the eight steps for scoring a typical buck's rack (download a scoring sheet here):
1) Add the total length of both main beams.
2) Add the total length of all the points.
3) Add total length of four circumference measurements.
4) Add the spread credit. Spread credit is the inside spread measurement unless that measurement exceeds the length of the longest main beam. In that case, the length of the longest main beam is entered as the spread credit.
5) Subtract the total number of inches of all abnormal points on a typical rack.
(Note: Examples include sticker points originating from a main point, points originating from the bottom or sides of a main beam, or extra points beyond the normal pattern of points).
6) Subtract the difference between each measurement of the right and left main beams.
7) Subtract the difference between each measurement of the right and left main points.
8) Subtract the difference between each of the four circumference measurements.
________________________________________________________________________
= Final Score
[NOTE: For a non-typical trophy you add abnormal points (Step 5), instead of subtracting them.]
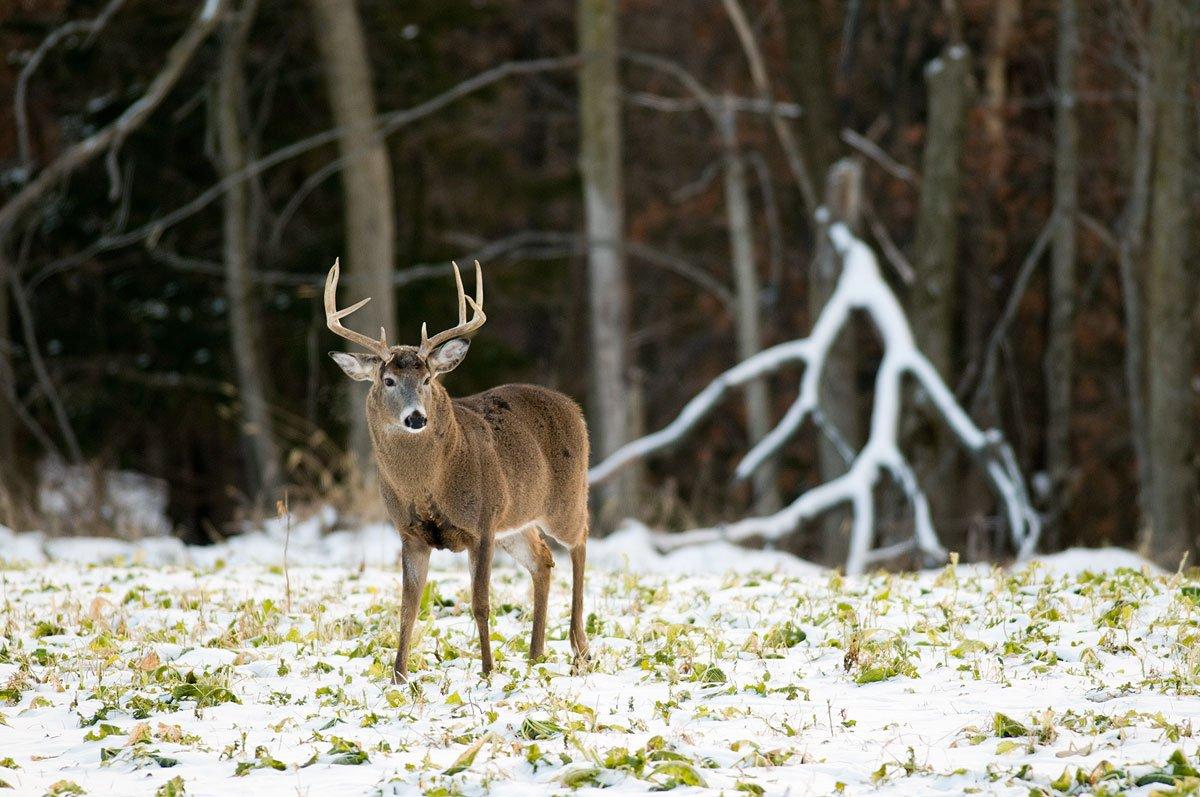
Also, some information recorded on the B&C score sheet is purely supplemental data that's used by officials and record books to keep an accurate history of the animal taken. Here are three measurements required on the B&C score sheet but not added into the final score:
- The number of points on each antler.
- Tip-to-Tip Spread (The distance between the two tips of the main beams).
- Greatest Spread (The distance between the farthest outside portion of each antler).
Field Judging Bucks
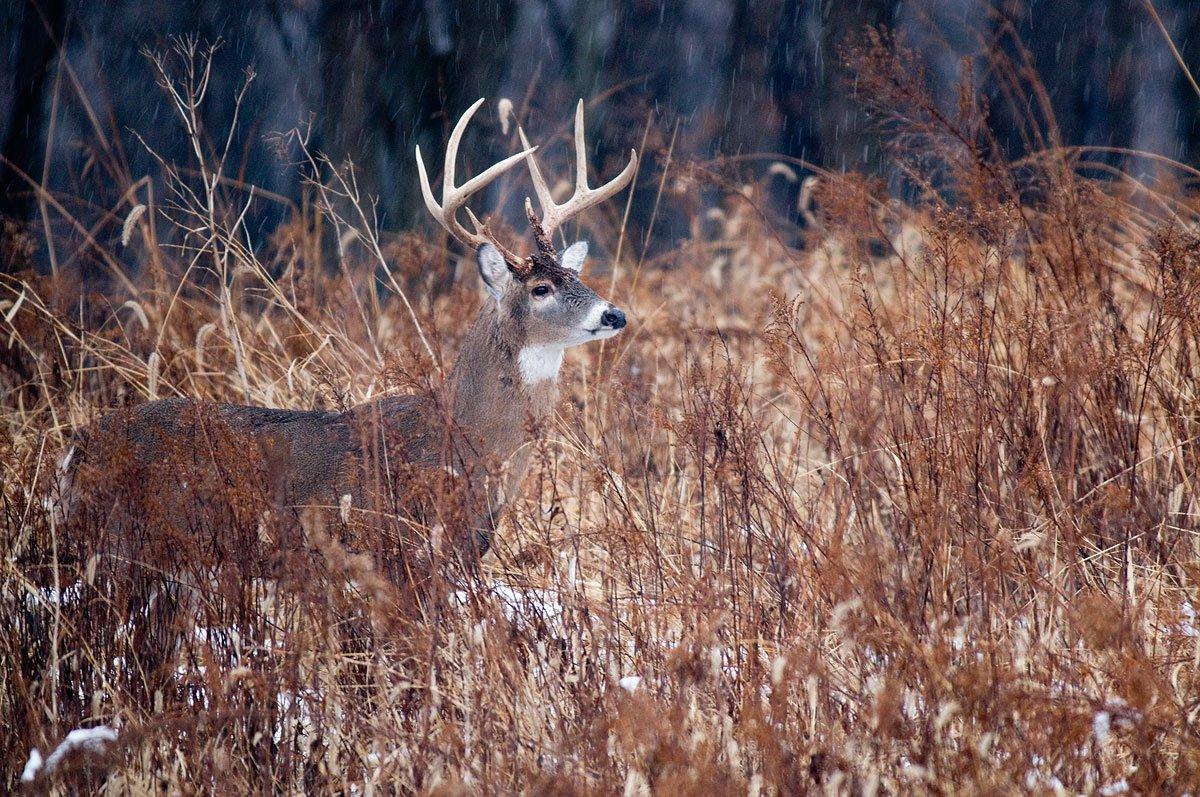
Keith Balfourd with the Boone and Crockett Club field-judged the photos for this story for your reference. The scores aren't precise, obviously, but they're close.
When field-judging a buck, concentrate on getting a quick tally of four main measurements: 1) main beams, 2) points, 3) inside spread and 4) main-beam mass.
Your "rulers" will be the deer's ears, eyes and nose. The average buck with ears in an alert position has an ear tip-to-tip spread of 16 inches. His ears will measures 6 inches from the base to the tip. The circumference of his eye is 4 inches, and from the center of the eye to the end of his nose should measure about 8 inches. Use these rulers to estimate the score. With a little practice, you will be surprised how close your estimates will become.
For example:
- Lengths of the main beams: A general rule of thumb is to look for a buck with main beams that appear to extend forward as far as the tip of his nose.
- Lengths of the points: Nearly all the bucks that make the records book have at least five normal points per side. All bucks will have main-beam tips and you can assume that an overwhelming majority of mature whitetail bucks grow brow tines. So just count the standing normal points on the main beam to quickly determine the number of points. A buck with two standing normal points per side is an 8-pointer, one with three standing points is a 10-pointer, and so on.
- Inside spread of the main beams: If his main beam appears to be three inches outside the ear tip on each side, then by adding six to 16 we find that he has a 22-inch spread.
- Mass of the main beams: Use the deer's 4-inch eye circumference as the ruler to estimate the circumference measurement of the antler. If the antler looks 1.5-times bigger, the first circumference measurement is about six inches.
Why Call Them G1s?
The reason antler points (tines) are called G-points, and are numbered, is because of where their lengths are recorded on a score sheet as well as the sequence in which they are scored using the B and C system. According to the scoring sheet, antler points are documented on Column G. So over the years, hunters have commonly referred to them as G-points. The associated number describes the point's location from back to front on the beam.
Don't Miss: 20 Deer Hunting Lies Your Granddaddy Told You
Editor's Note: This was originally published on November 23, 2010.
Are you a deer hunter thirsty for knowledge? Check out our stories, videos and hard-hitting how-to's on deer hunting.


