Save the high cost of a processor and make your snack sticks at home with an easy-to-use kit
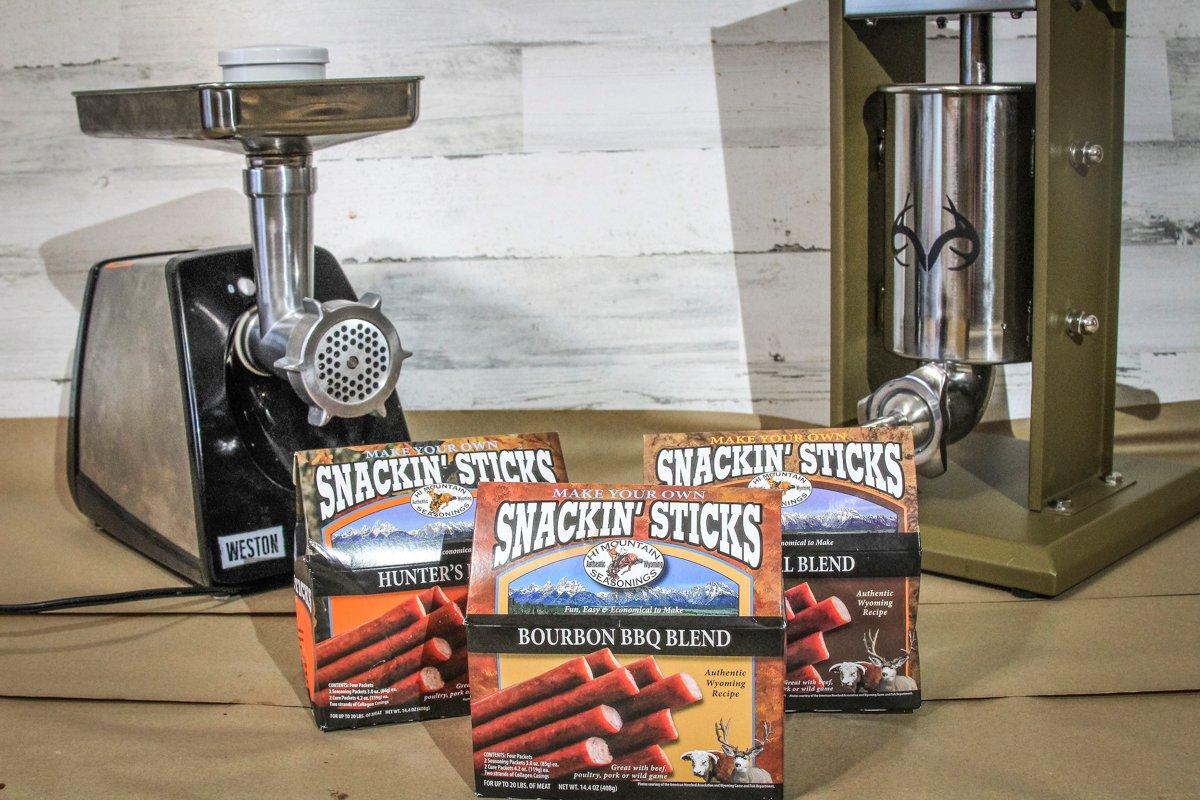
Everyone loves venison snack sticks. But let's face it, those things are expensive when you get them made at a processor. And we eat a lot of them here at Timber2Table. Good news though. With kits from companies like Hi Mountain, you can use your own venison to make snack sticks that are as good or better than those you get from the processor, and at a much lower price.
There are plenty of flavors available, so everyone in your crew will probably be able to find something they enjoy. Regardless of flavor, the instructions for making the kits are the same. Each kit makes up to 20 pounds of sticks, but they come with instructions for making as little as a pound or two per batch if you like. We generally make 20 pounds at a time around here. Vacuum seal and freeze any extras, then take them out and eat them year-round.
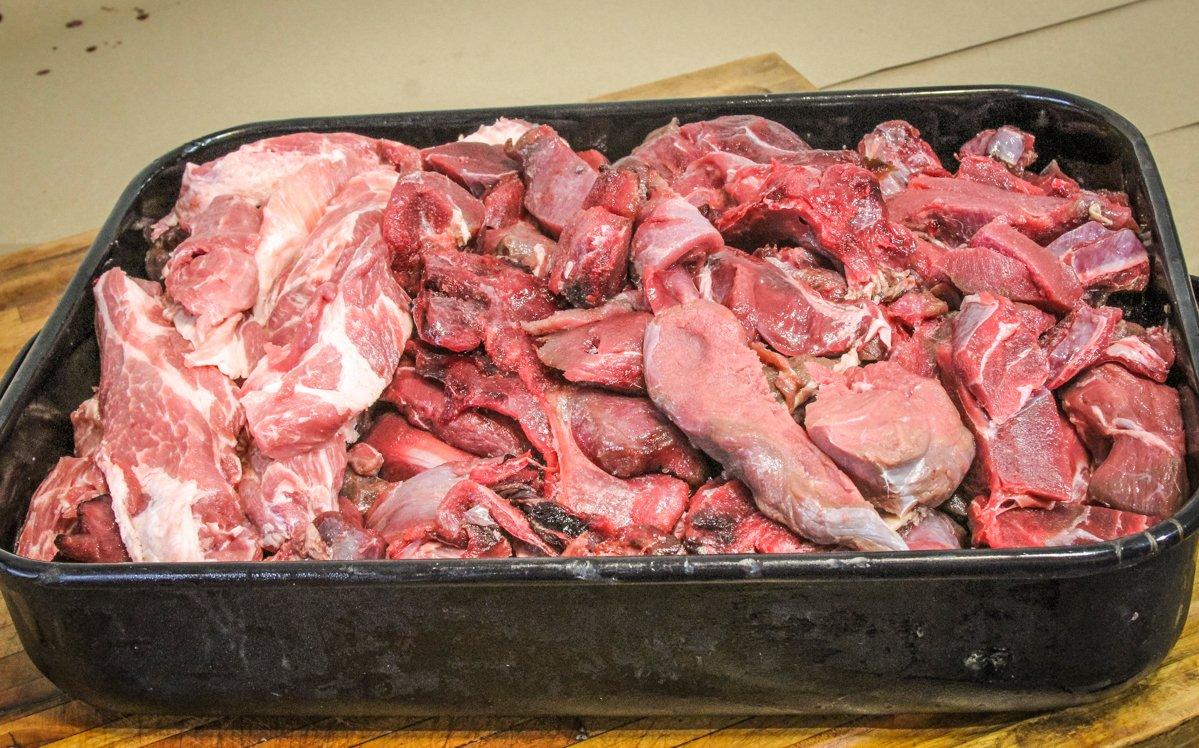
You can make your sticks with straight venison, but I like a 60/40 blend of venison and pork butt. The added moisture from the pork fat gives the finished product a better texture, and adding pork stretches my valuable venison a bit. (For the rest of you English majors out there, that means 12 pounds of venison and 8 pounds of pork per 20-pound batch. Don't worry, I checked with my math-and-science trained wife to verify my measurements.)
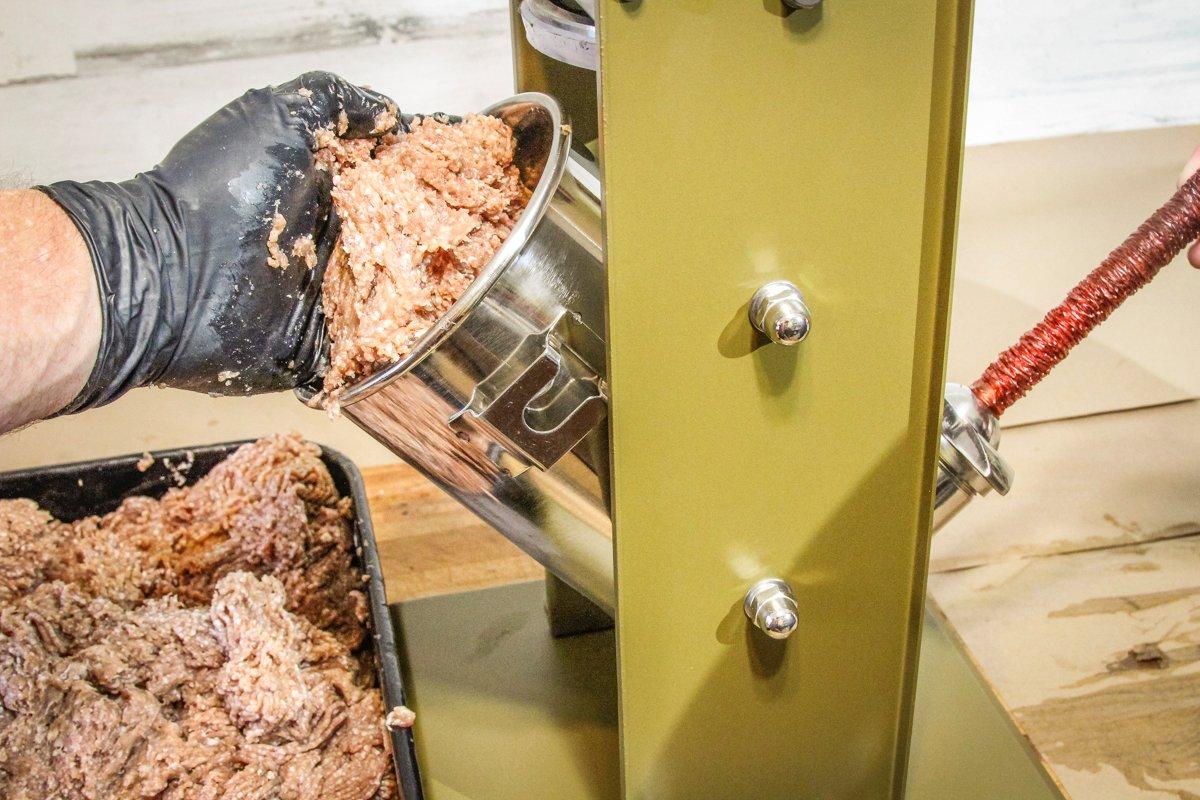
We use our Weston Realtree Edge Meat Grinder and Sausage Stuffer to make quick work of even a large batch of sticks. The small tube from the stuffer kit fits the snack stick casing perfectly. The big 7-pound capacity means less downtime to reload the stuffer. Here's the step-by-step process.
1. Keep everything cold.
If you can, cut up the meat while it is still slightly frozen. Keep your grinder parts in the freezer while you cut up the meat. Make sure everything is cut into small enough pieces to easily fit through your grinder. Nothing slows the grind process like stopping to pull out a too-large piece of meat to cut it down into workable pieces.
2. Grind twice.
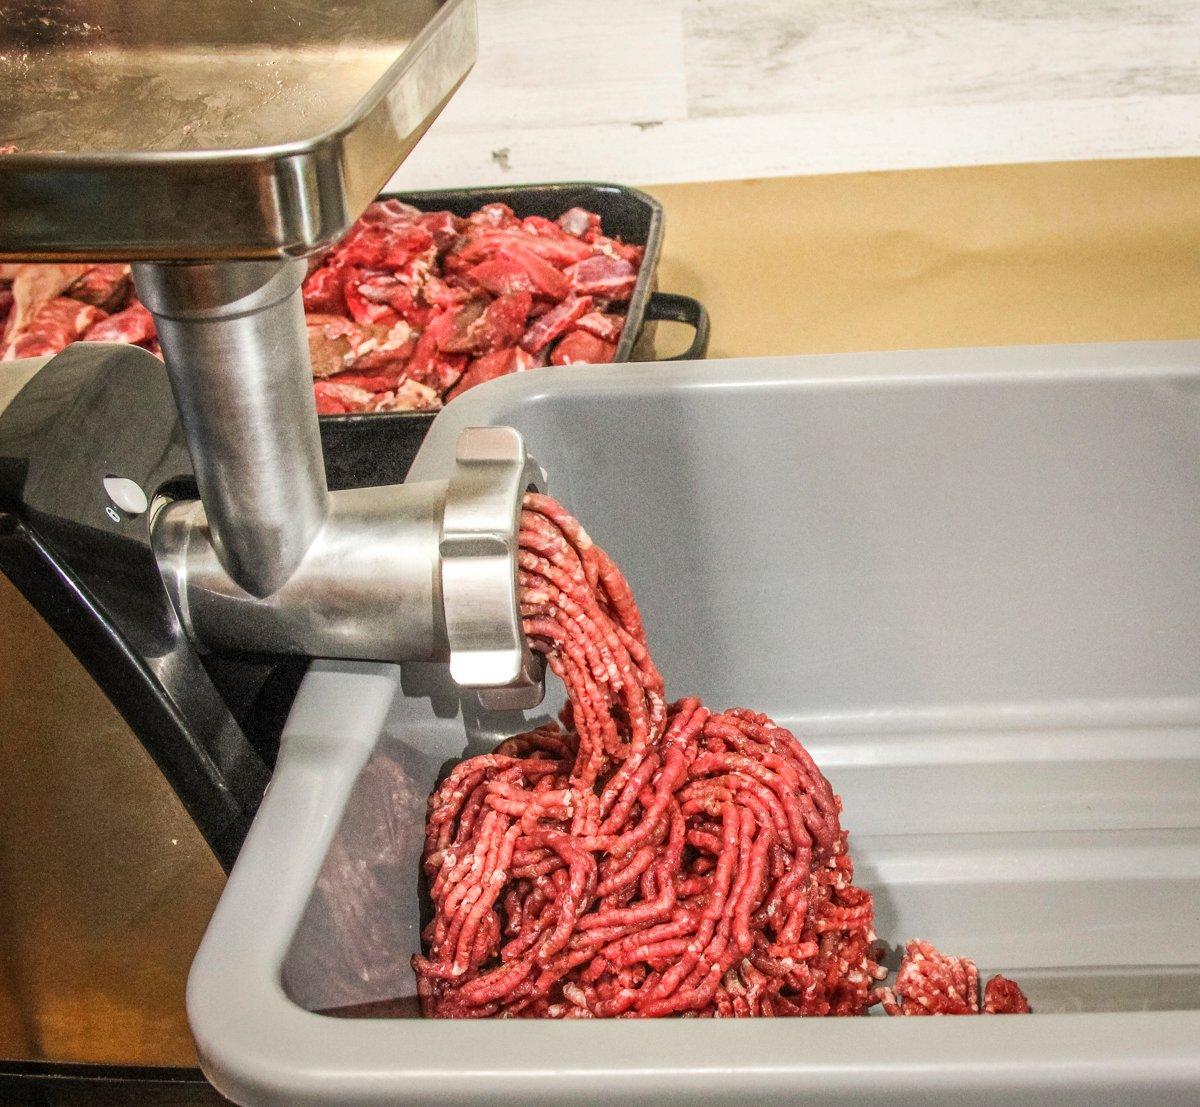
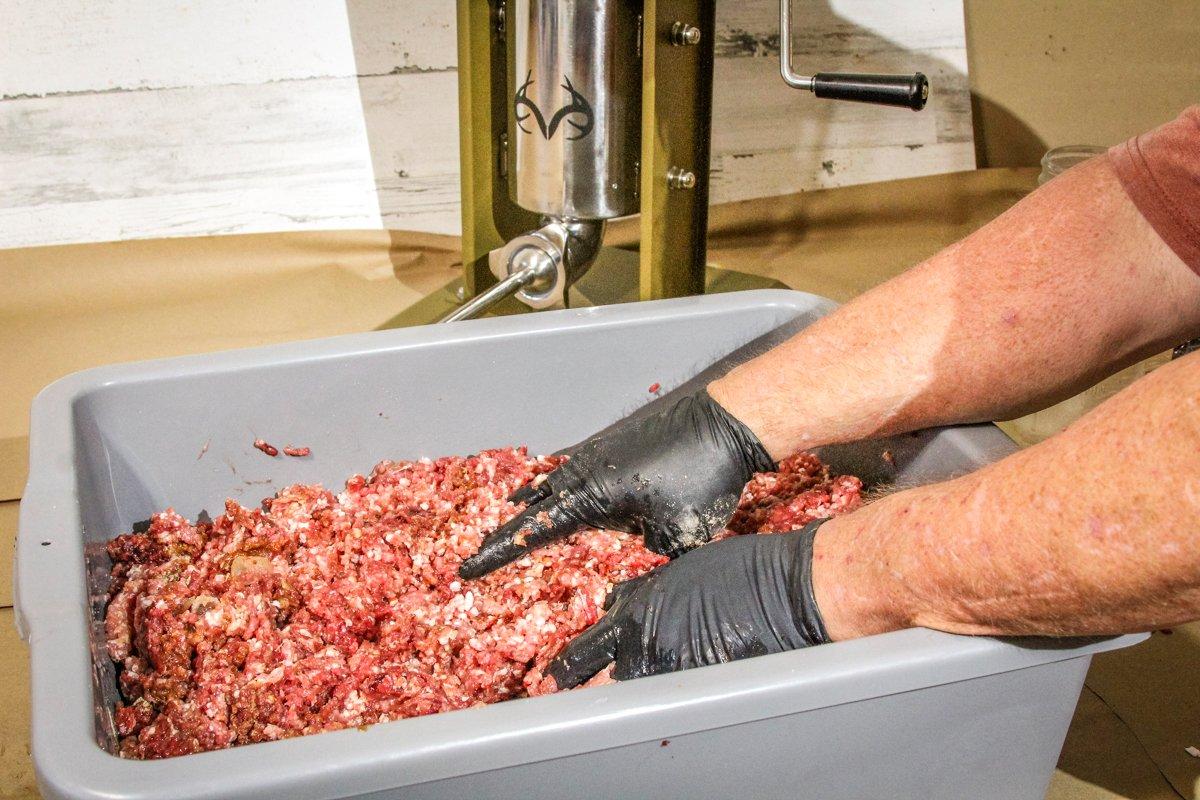
I like to grind through the medium plate first, mix the meat well to make sure the pork and venison are evenly distributed, then add in the cure and seasoning packets and blend well. For smaller batches, the package instructions for the kit I used called for adding a cup of ice water per pound of meat. For large batches, I cut it down a bit and add 16 cups of ice water per 20-pound batch. A pair of plastic or nitrile gloves helps you blend the cold meat and keeps everything neat and tidy.
After everything is well blended, run the meat mixture through the grinder again, this time through the small plate. In my opinion, the finer texture makes for a better finished product.
3. Don't overfill the casings while you stuff.
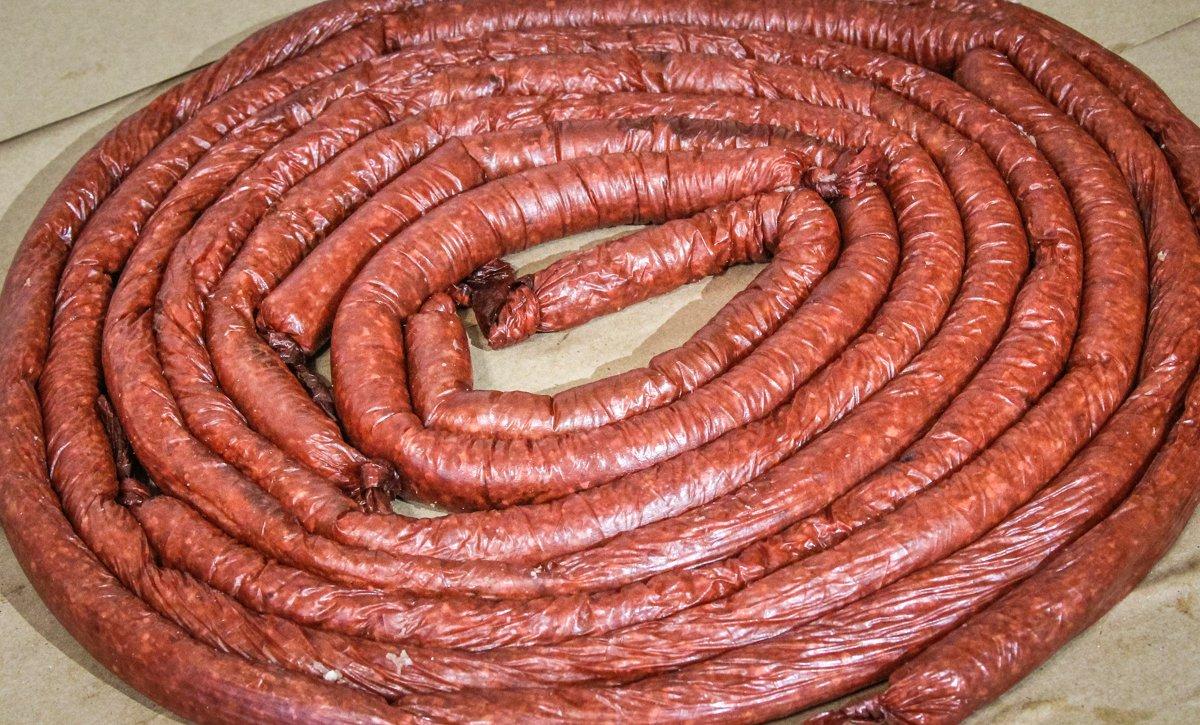
Leaving a bit of space lets you twist the casings to form links if desired and helps cut down on ruptured casings. Use a clean tack or pin to poke any air pockets that might be in the casings after filling.
4. Don't wait to stuff the casings.
While a lot of snack stick recipes call for allowing the meat and cure mixture to set overnight before stuffing, these kits contain a binder. Leaving the meat mixture out too long makes it tough to stuff it into the casings. Wait and let things cure overnight after the casings are filled.
5. Don't overheat as you cook the sticks.
Cook or smoke the sticks at 200 degrees until they reach an internal temperature of 165 degrees. Overheating will cause the fat to render out and leave the sticks with a dry texture.
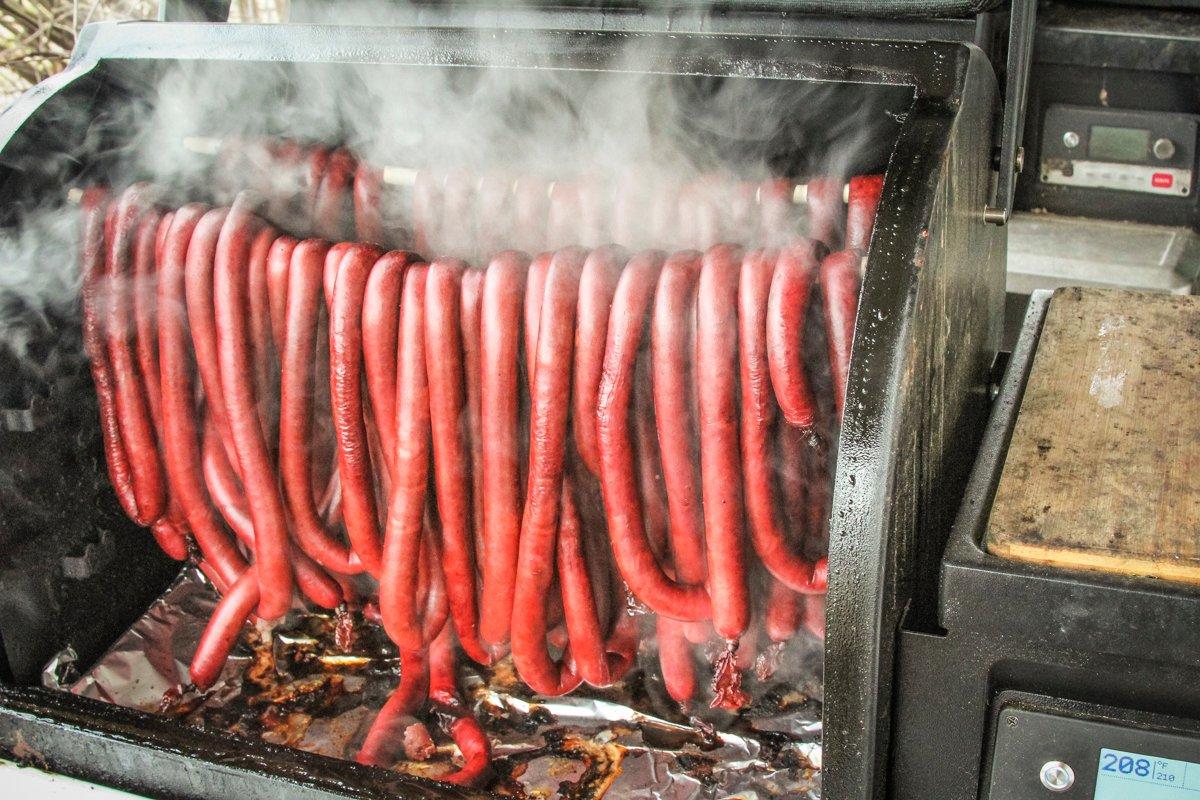
I like the flavor of smoked sticks and cook them on our Traeger Grill. You can cook the sticks directly on the grill grate, but hanging lets you pack more into the grill at once and leave the sticks without grill marks.
To hang the sticks, remove the racks from your grill and cut 1/2-inch wooden dowels to the same width as your grill. Rest the sticks on the brackets that normally hold the upper shelves. Suspend the looped snack sticks from the dowels to smoke.
6. Cool the sticks before cutting to length.
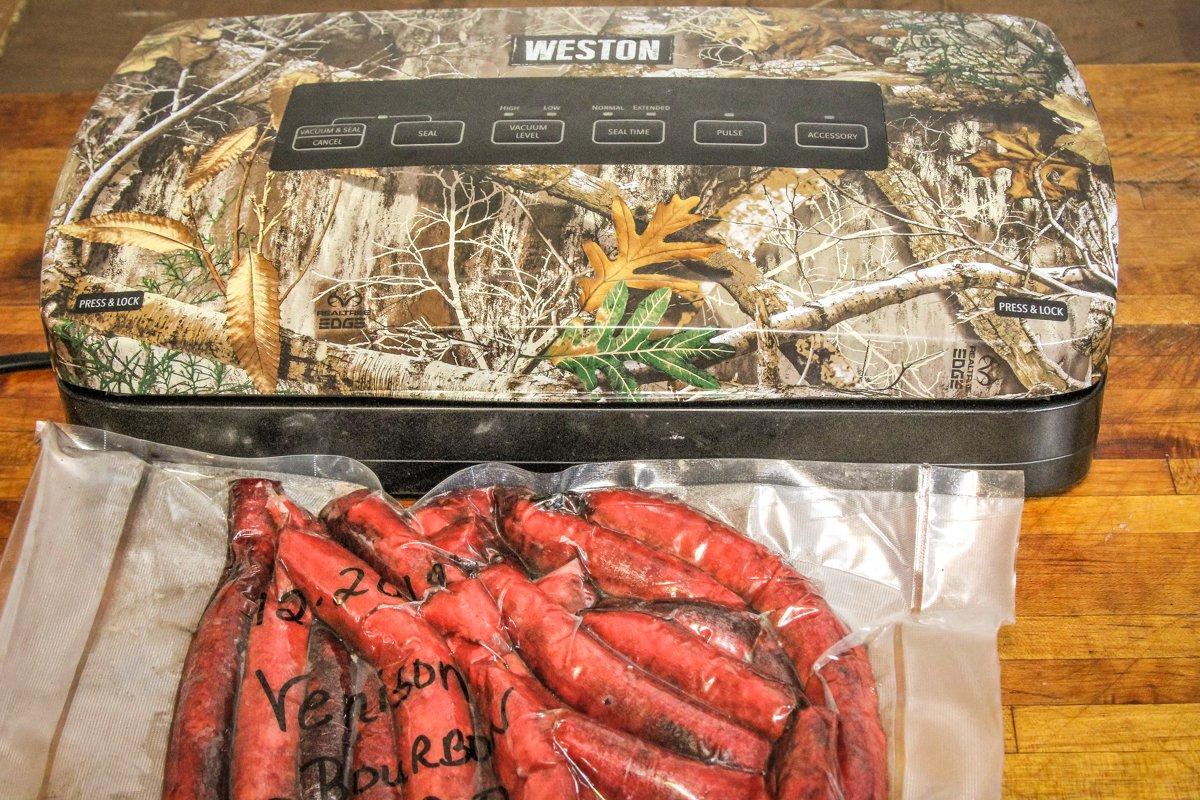
We seal the sticks in 1- or 2-pound packs, then freeze any extras to thaw out later, say during spring turkey season.

